How a floor is built: the layers under your feet
A floor is more than the boards you see. It’s a stack of layers, and each one affects how the floor looks, sounds and lasts.
1. The structure
In most Bay Area homes the floor sits on one of two things: wood joists over a crawl space or basement, or a concrete slab. Many older houses have raised wood framing. Newer homes and ground floors often sit on a slab.
The structure sets the rules. Wood framing can flex and squeak. Concrete can carry moisture up from the ground.
2. The subfloor
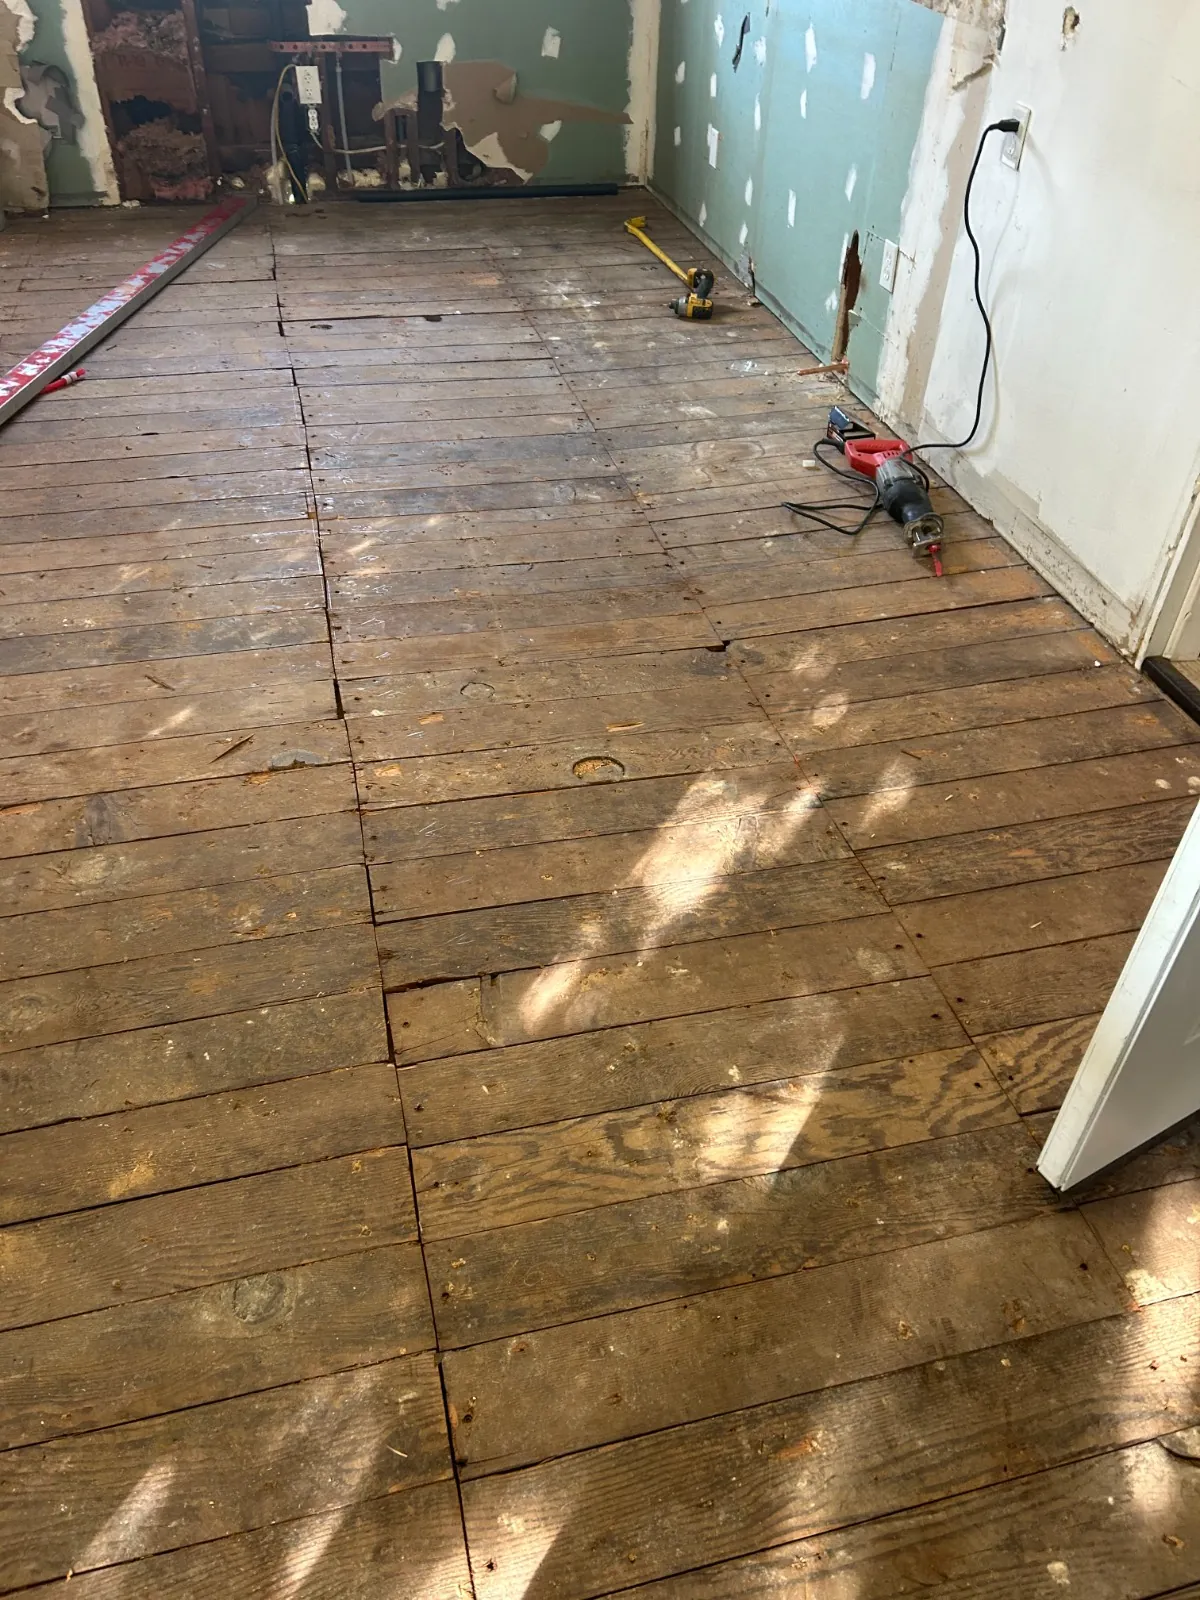
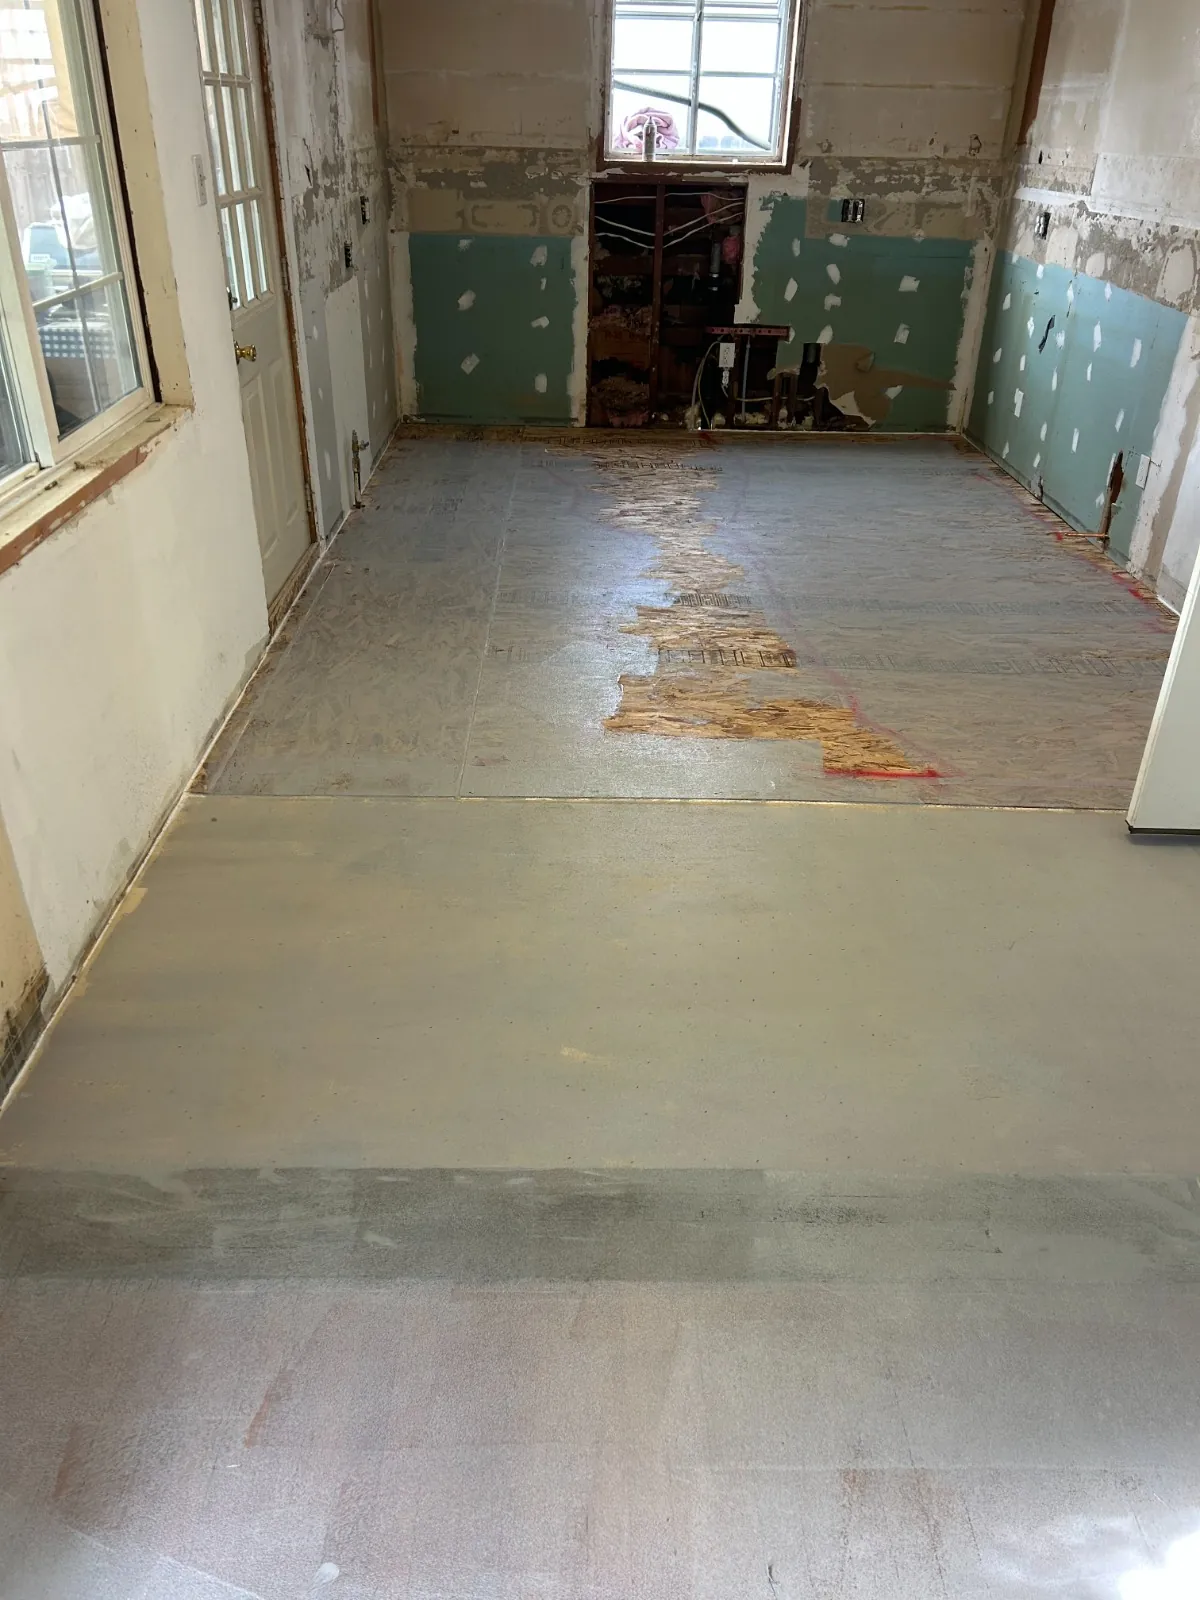
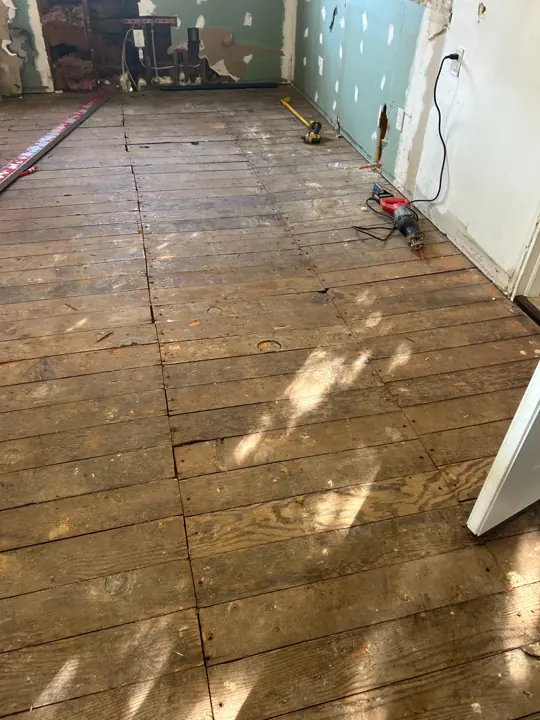
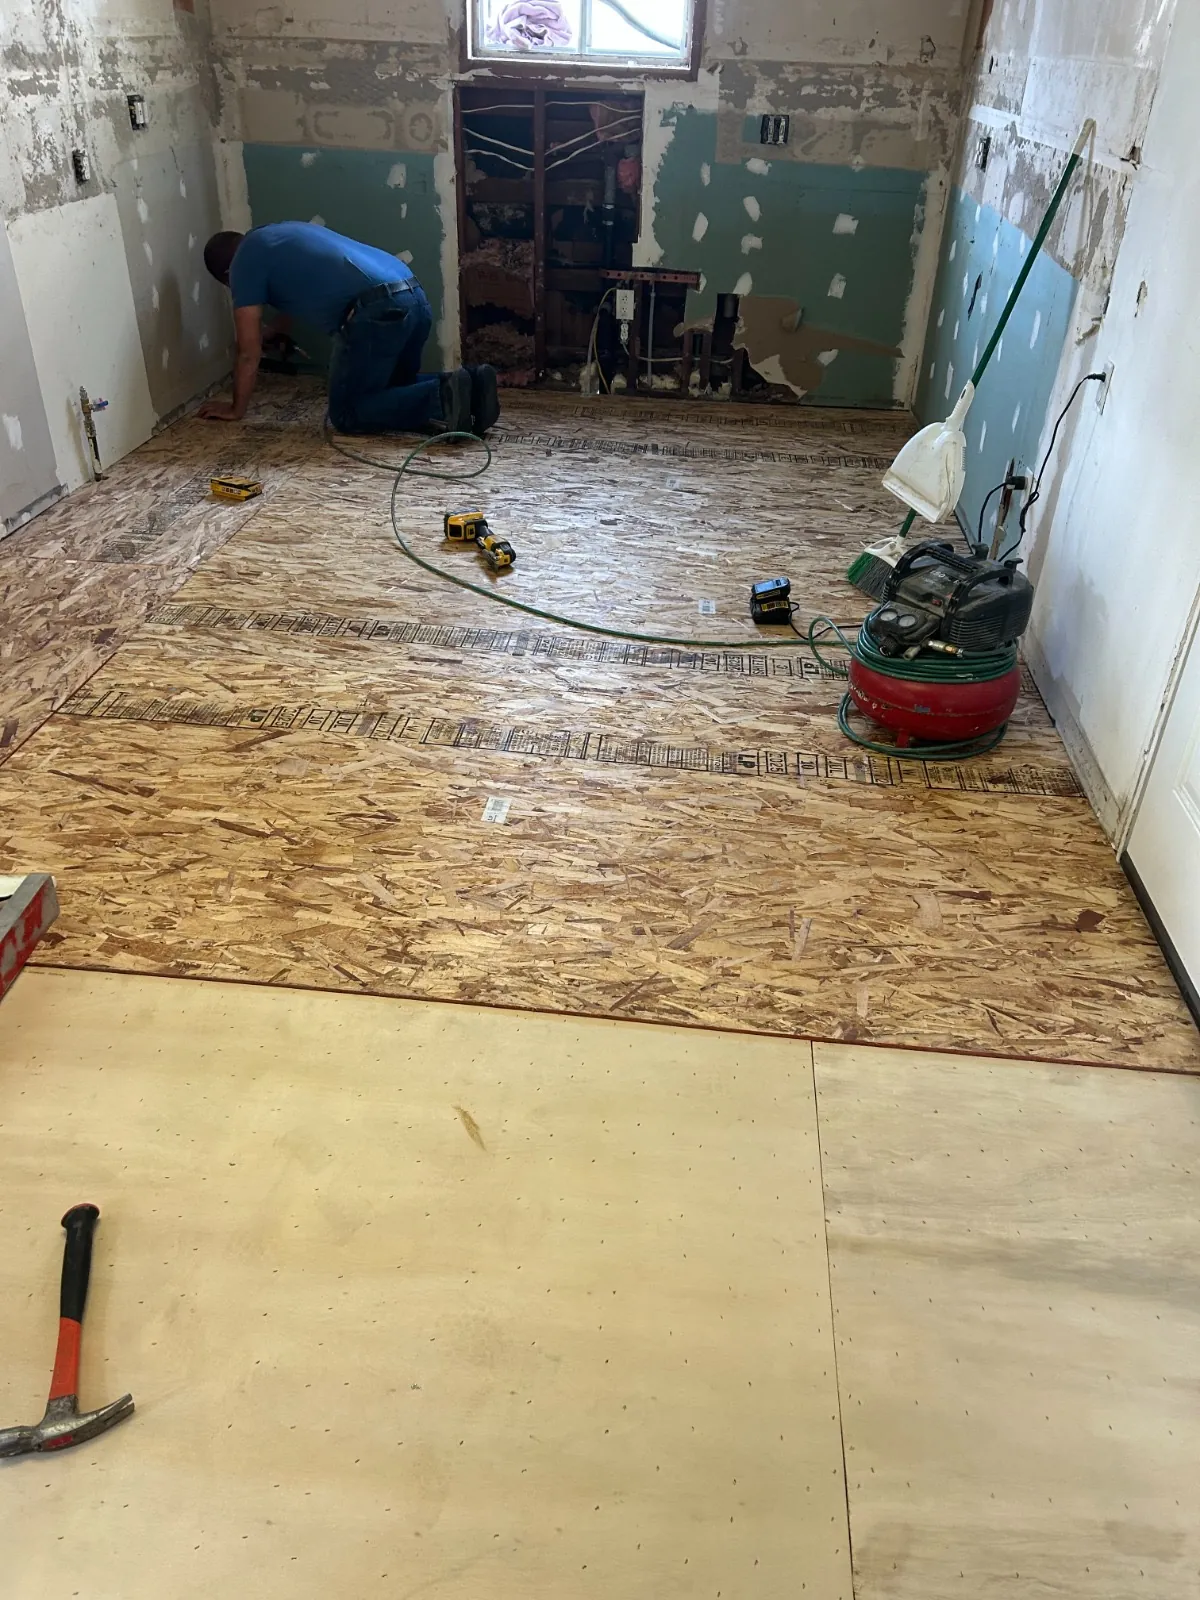
Over joists, the subfloor is plywood or OSB, or in older homes, boards laid across the joists. It has to be solid and dry. Loose spots cause squeaks, so they get fastened down. Damaged or wet sections get replaced before anything else goes on top.
On a slab, the concrete itself is the subfloor. It gets checked for cracks and moisture.
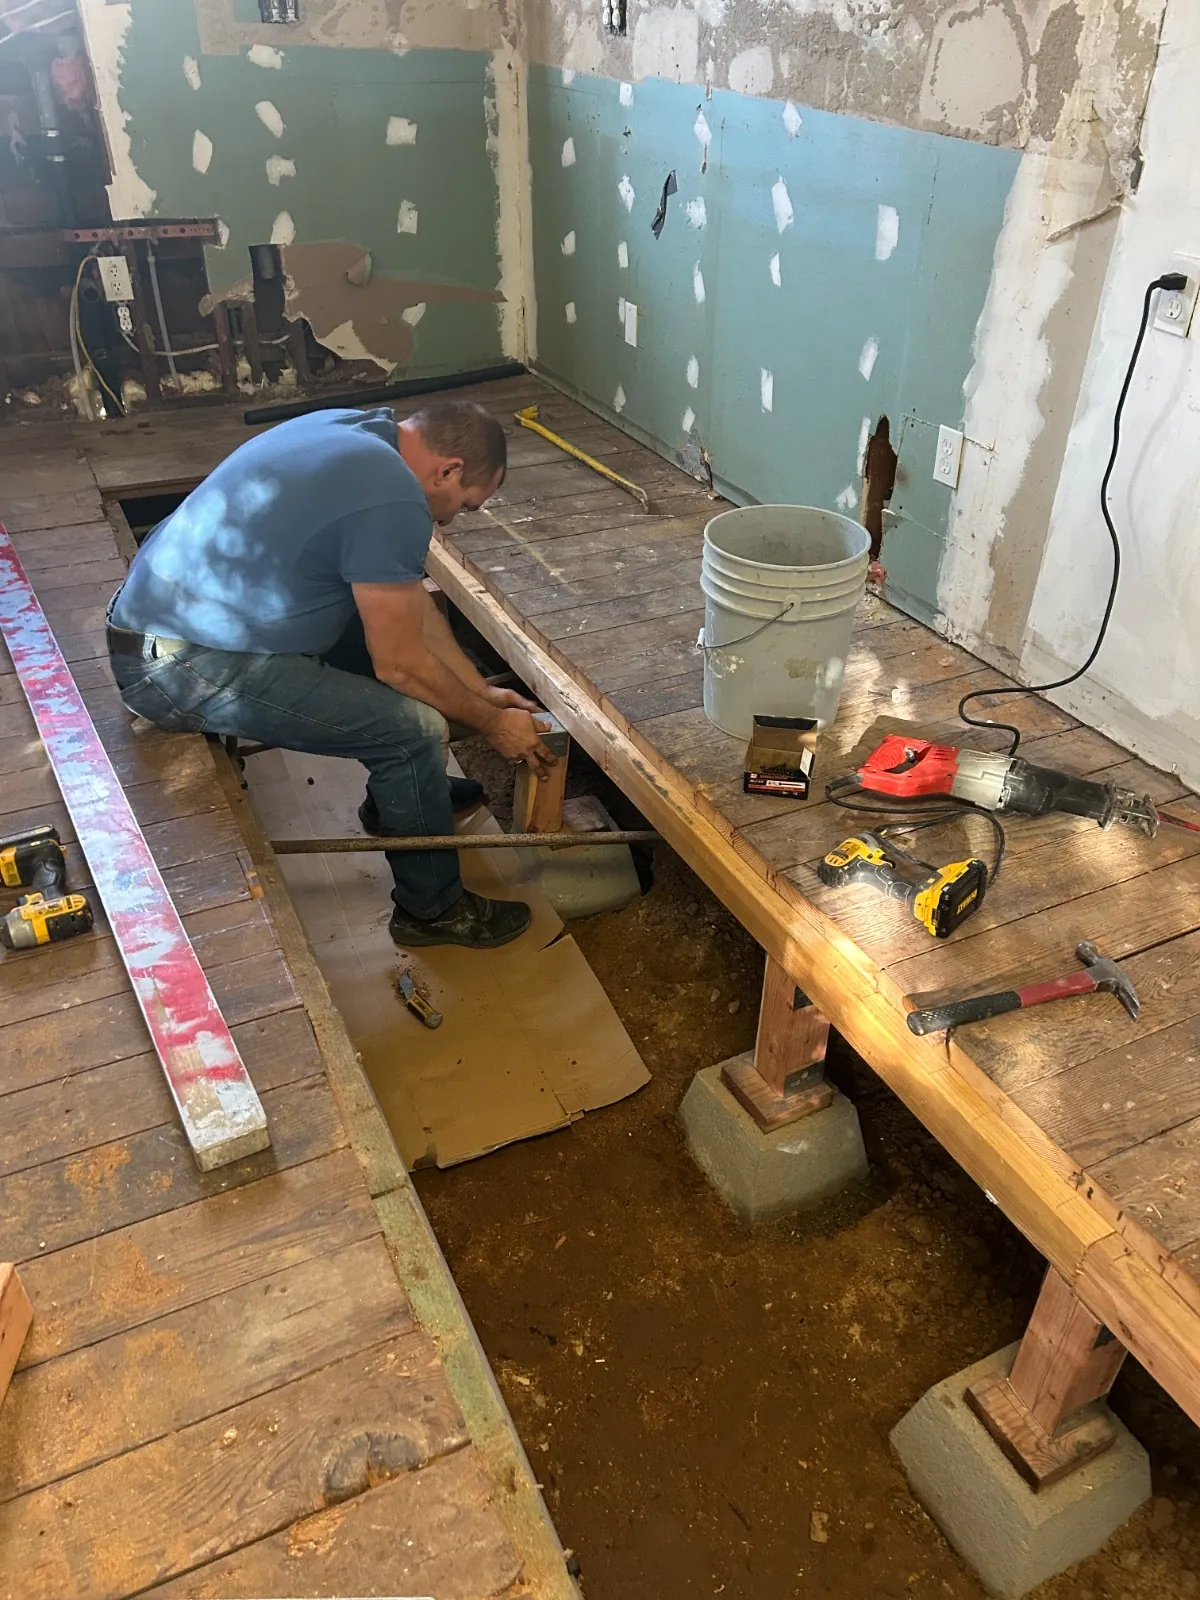
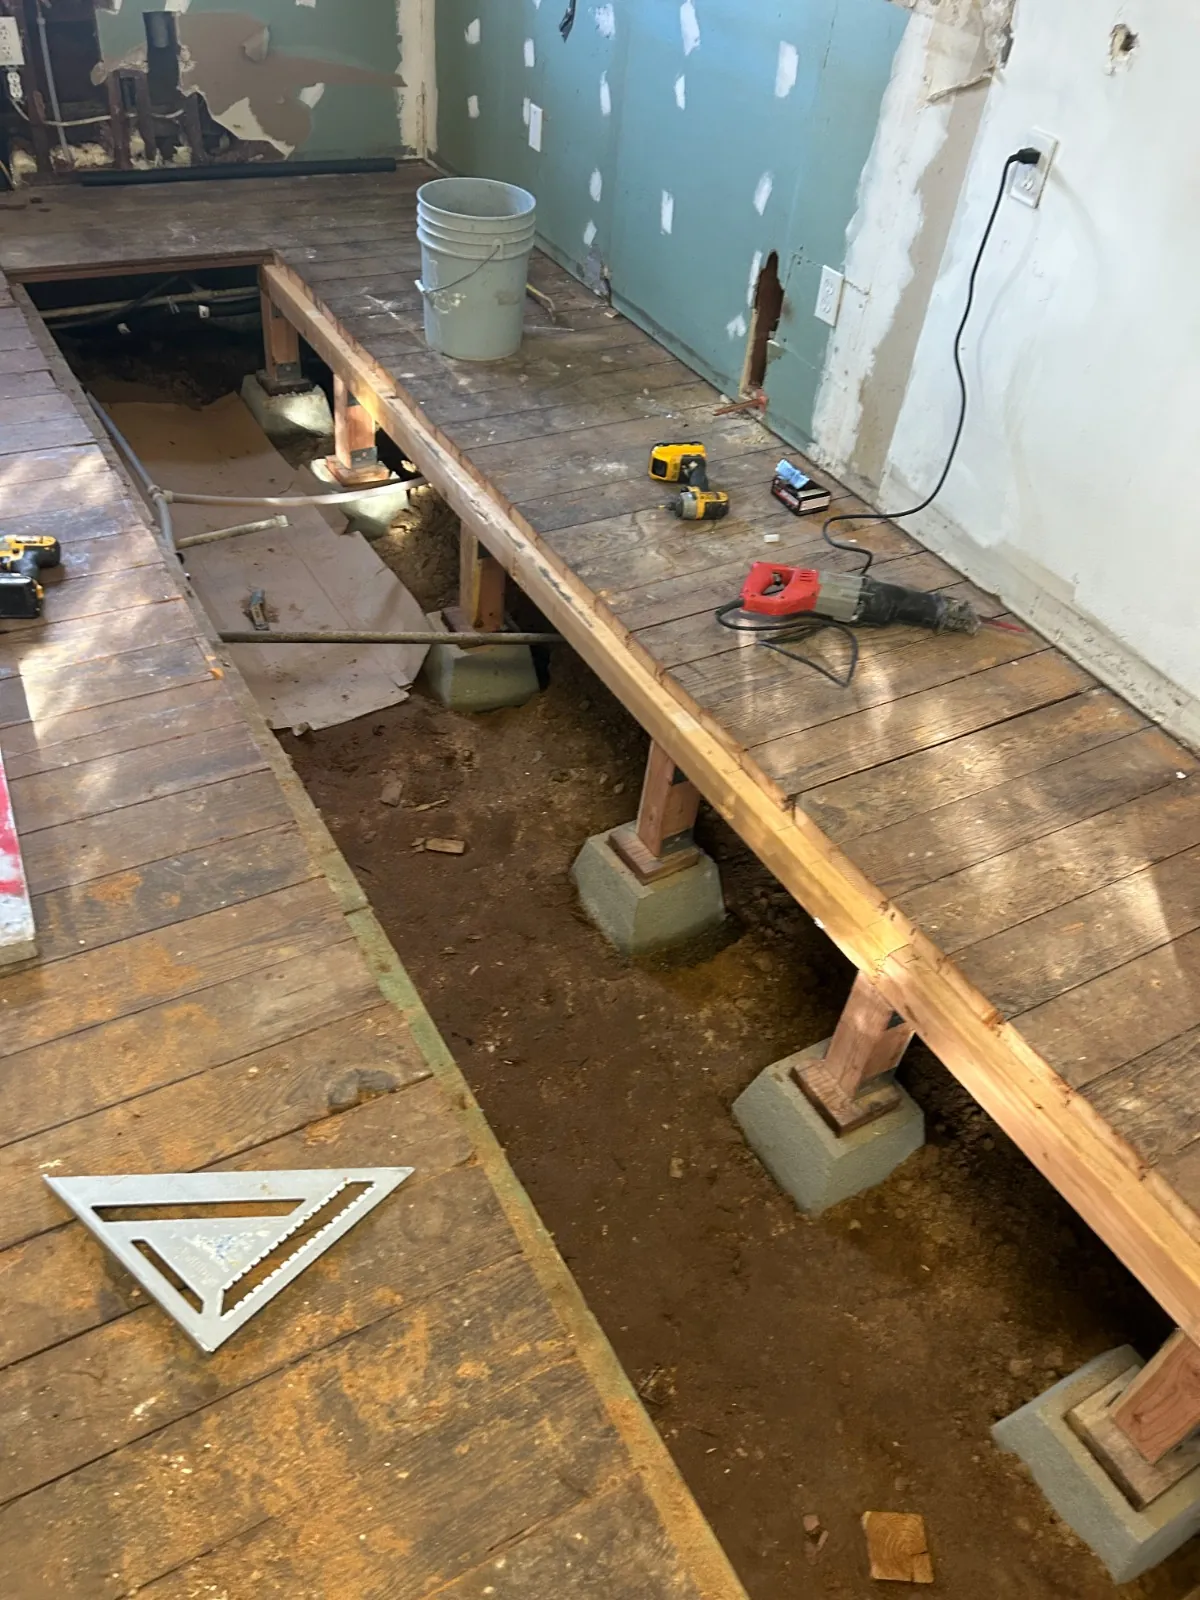
Squeaks and soft spots: We repair the subfloor and fasten it down so it stops moving.
Repairing the base
3. Leveling
Finish floors need a flat base. Many manufacturers allow no more than 3/16 inch of variation over 10 feet. Some products and patterns, like herringbone, need tighter tolerances, such as 1/8 inch over 6 feet.
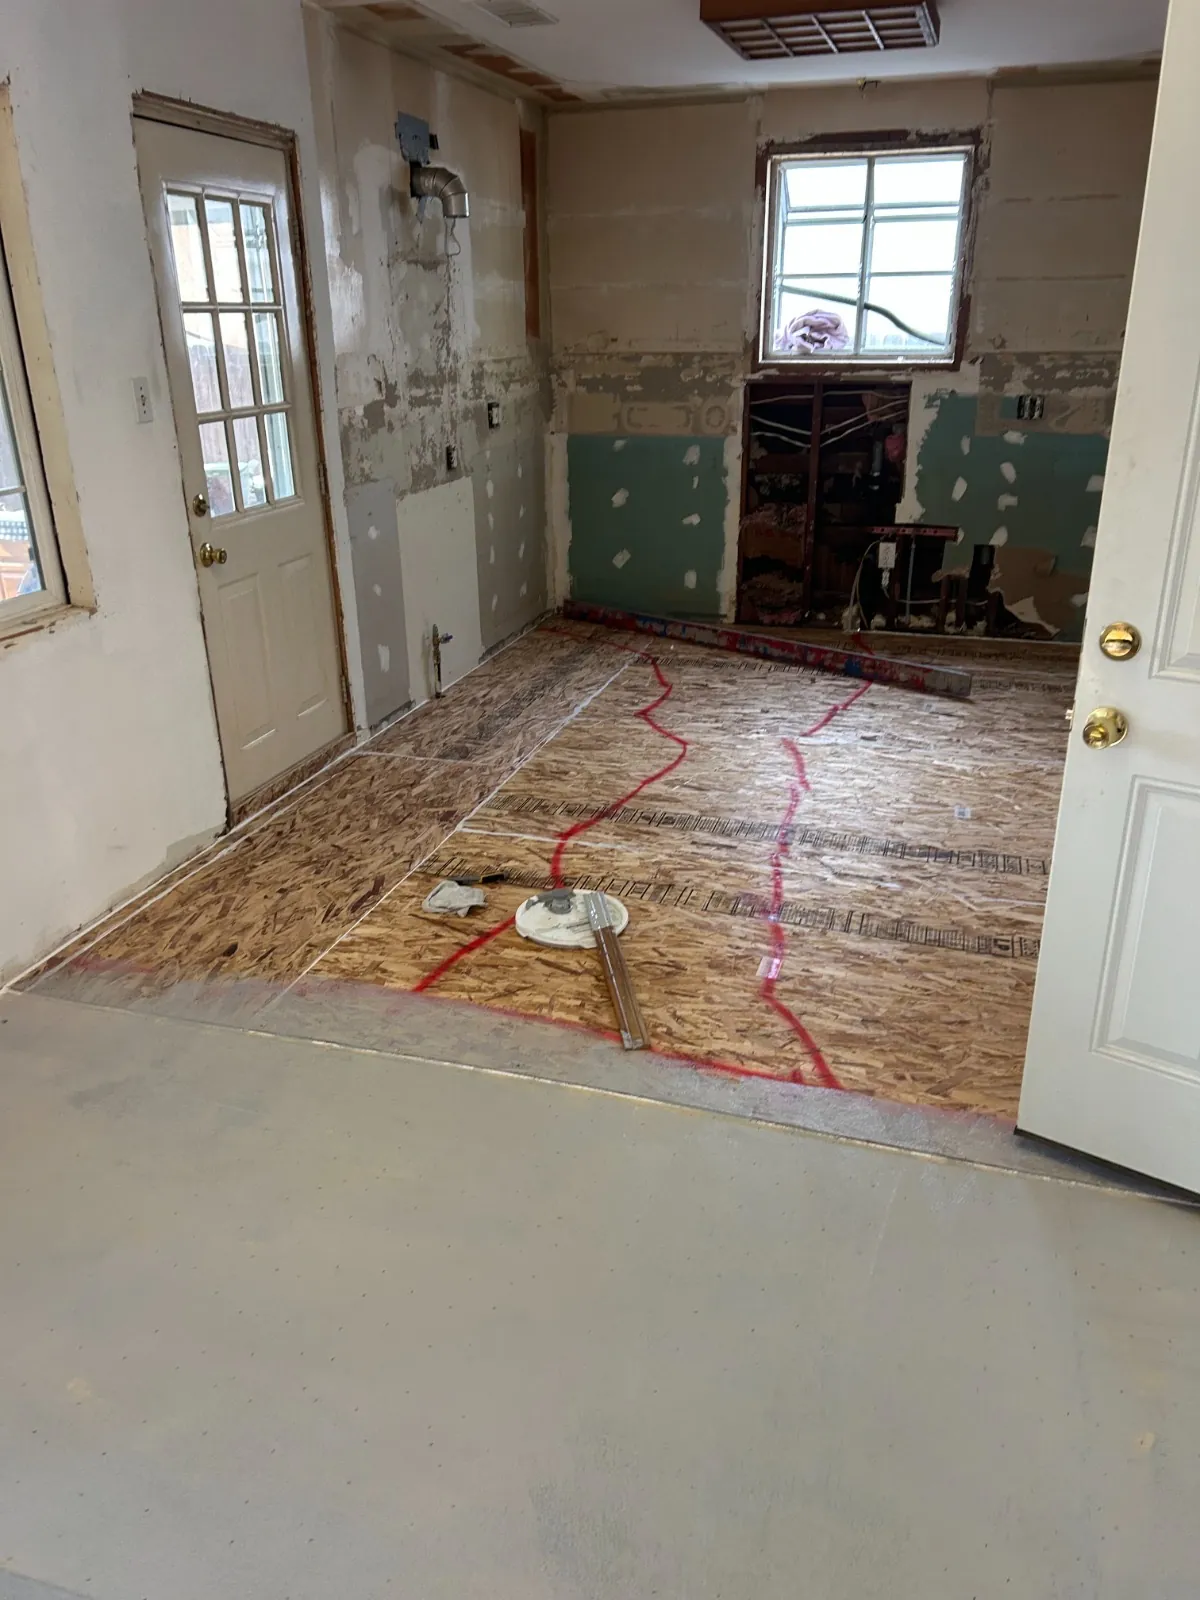
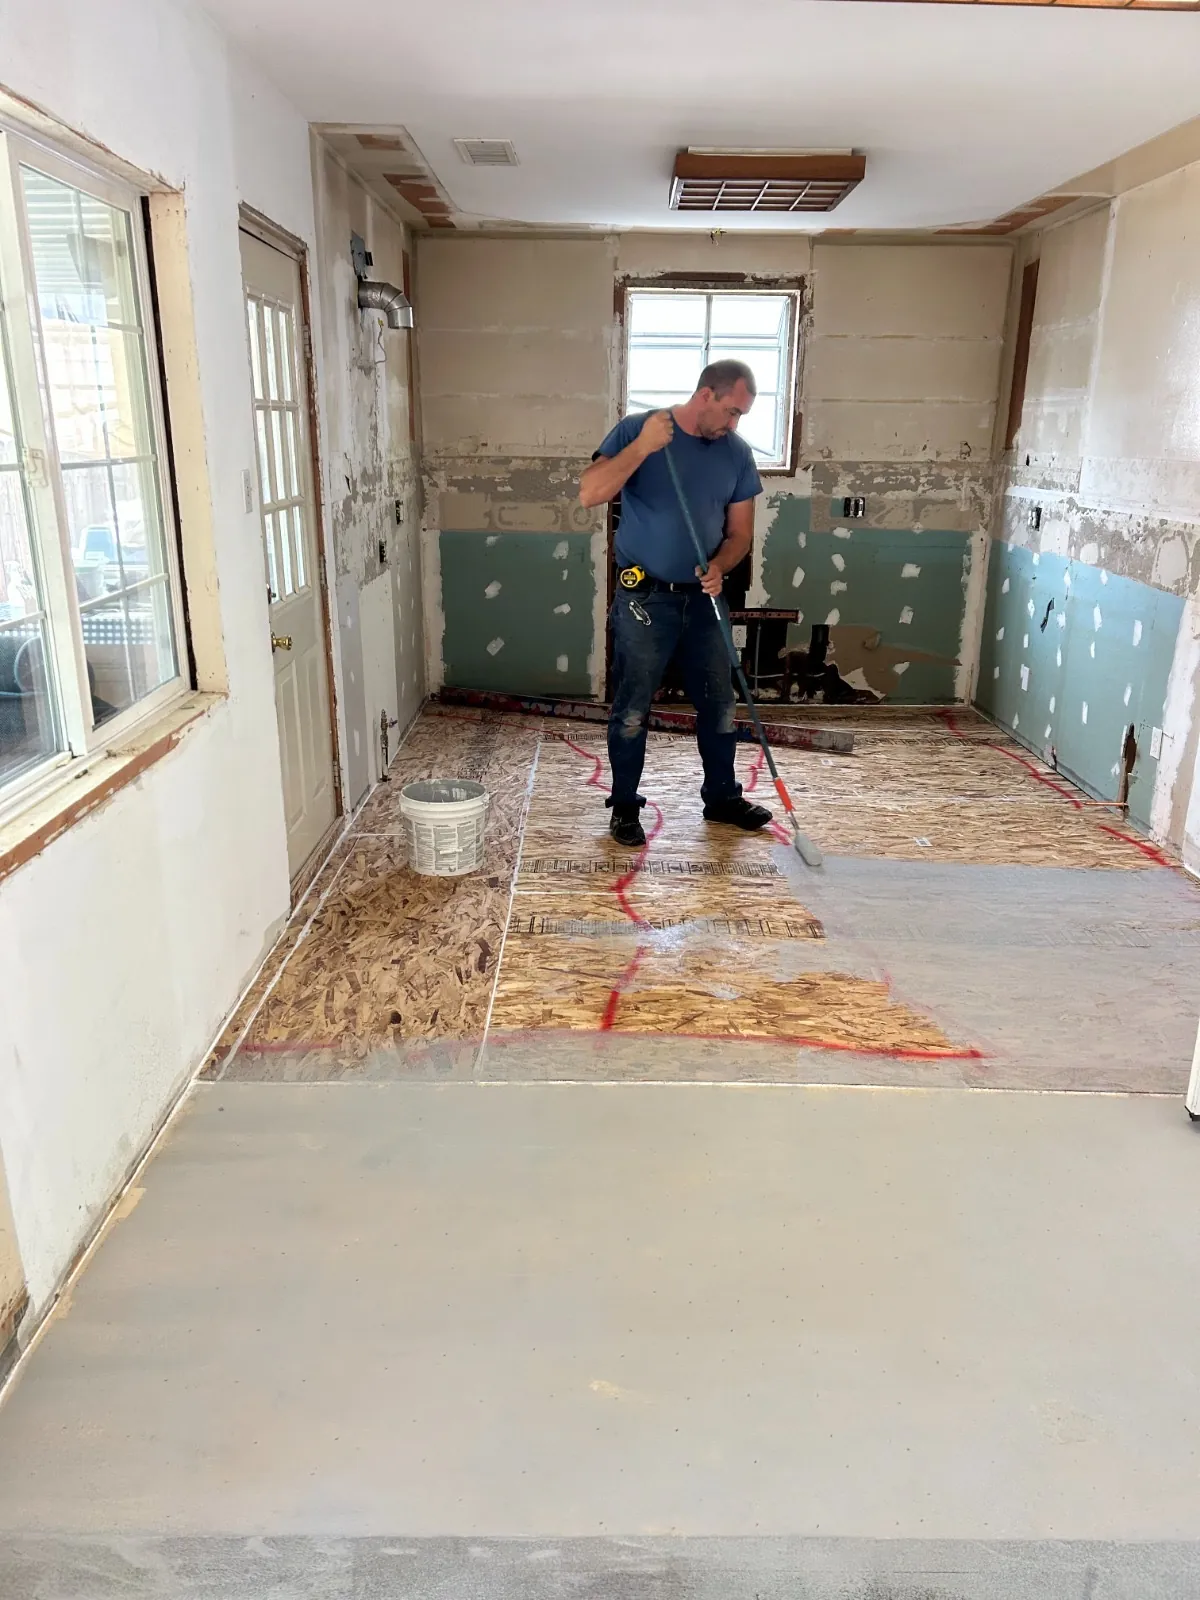
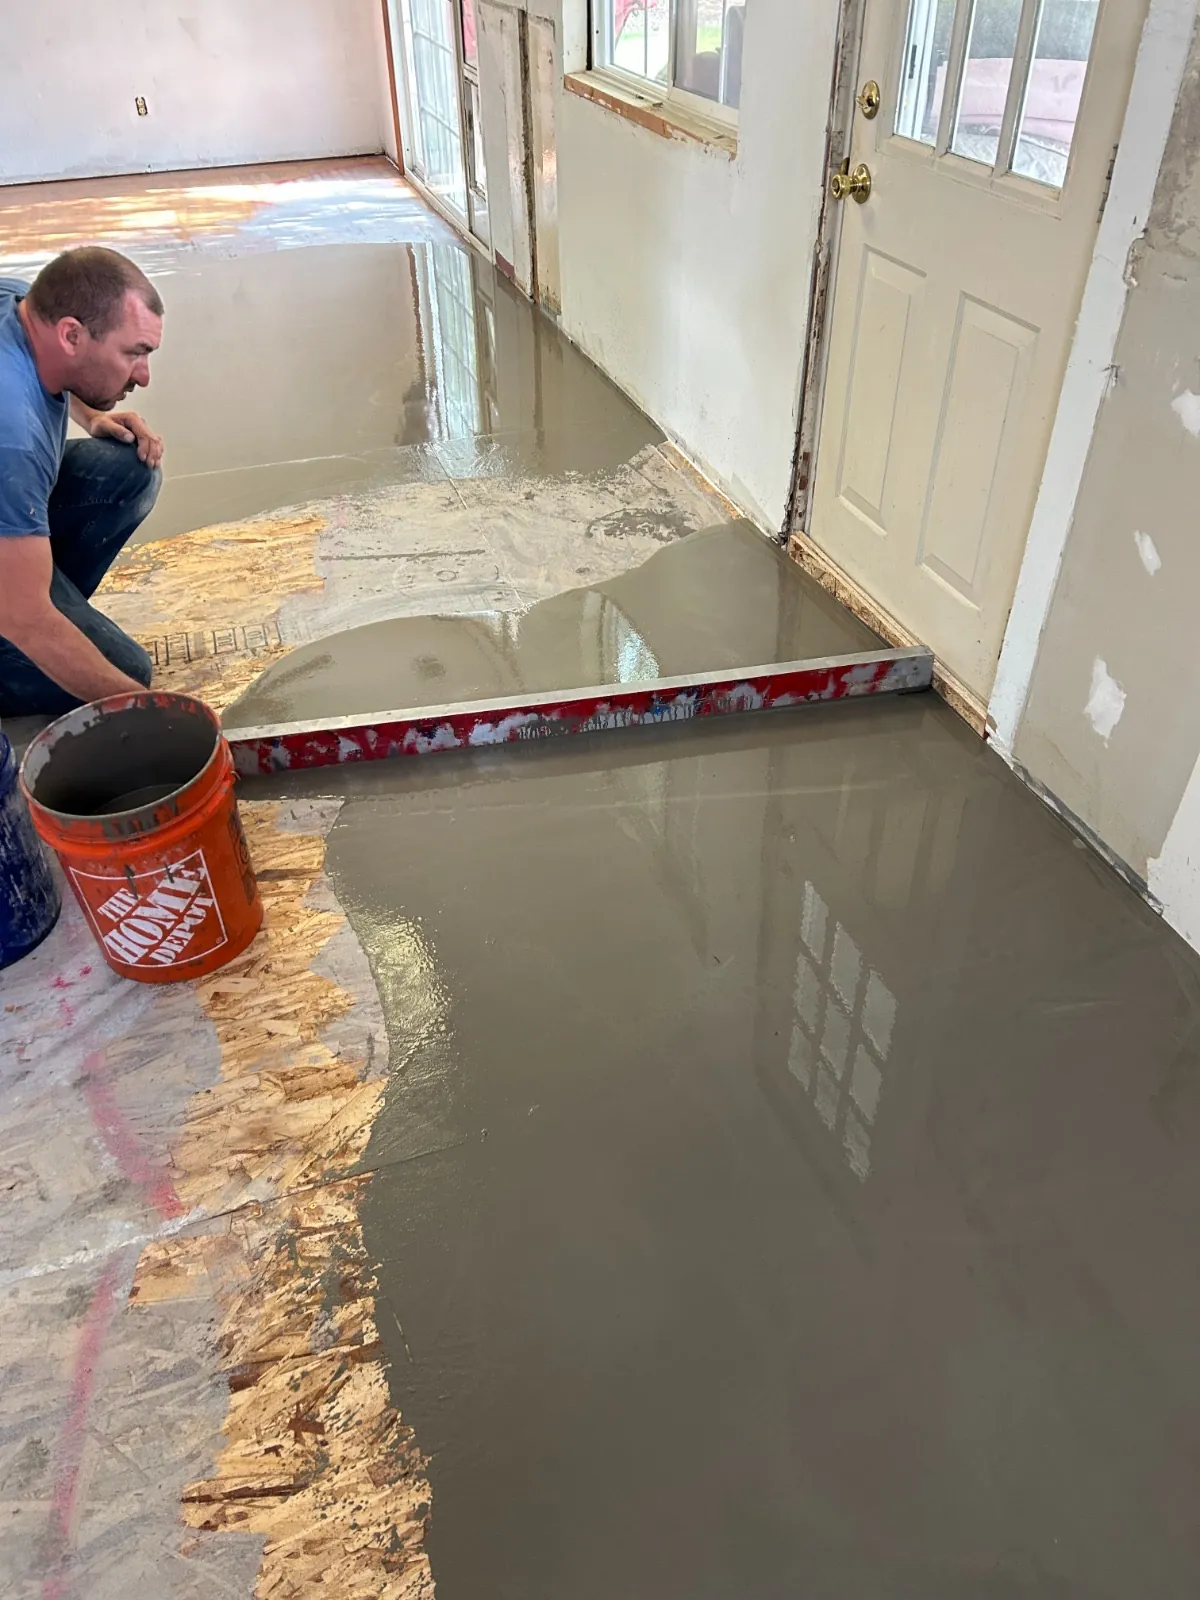
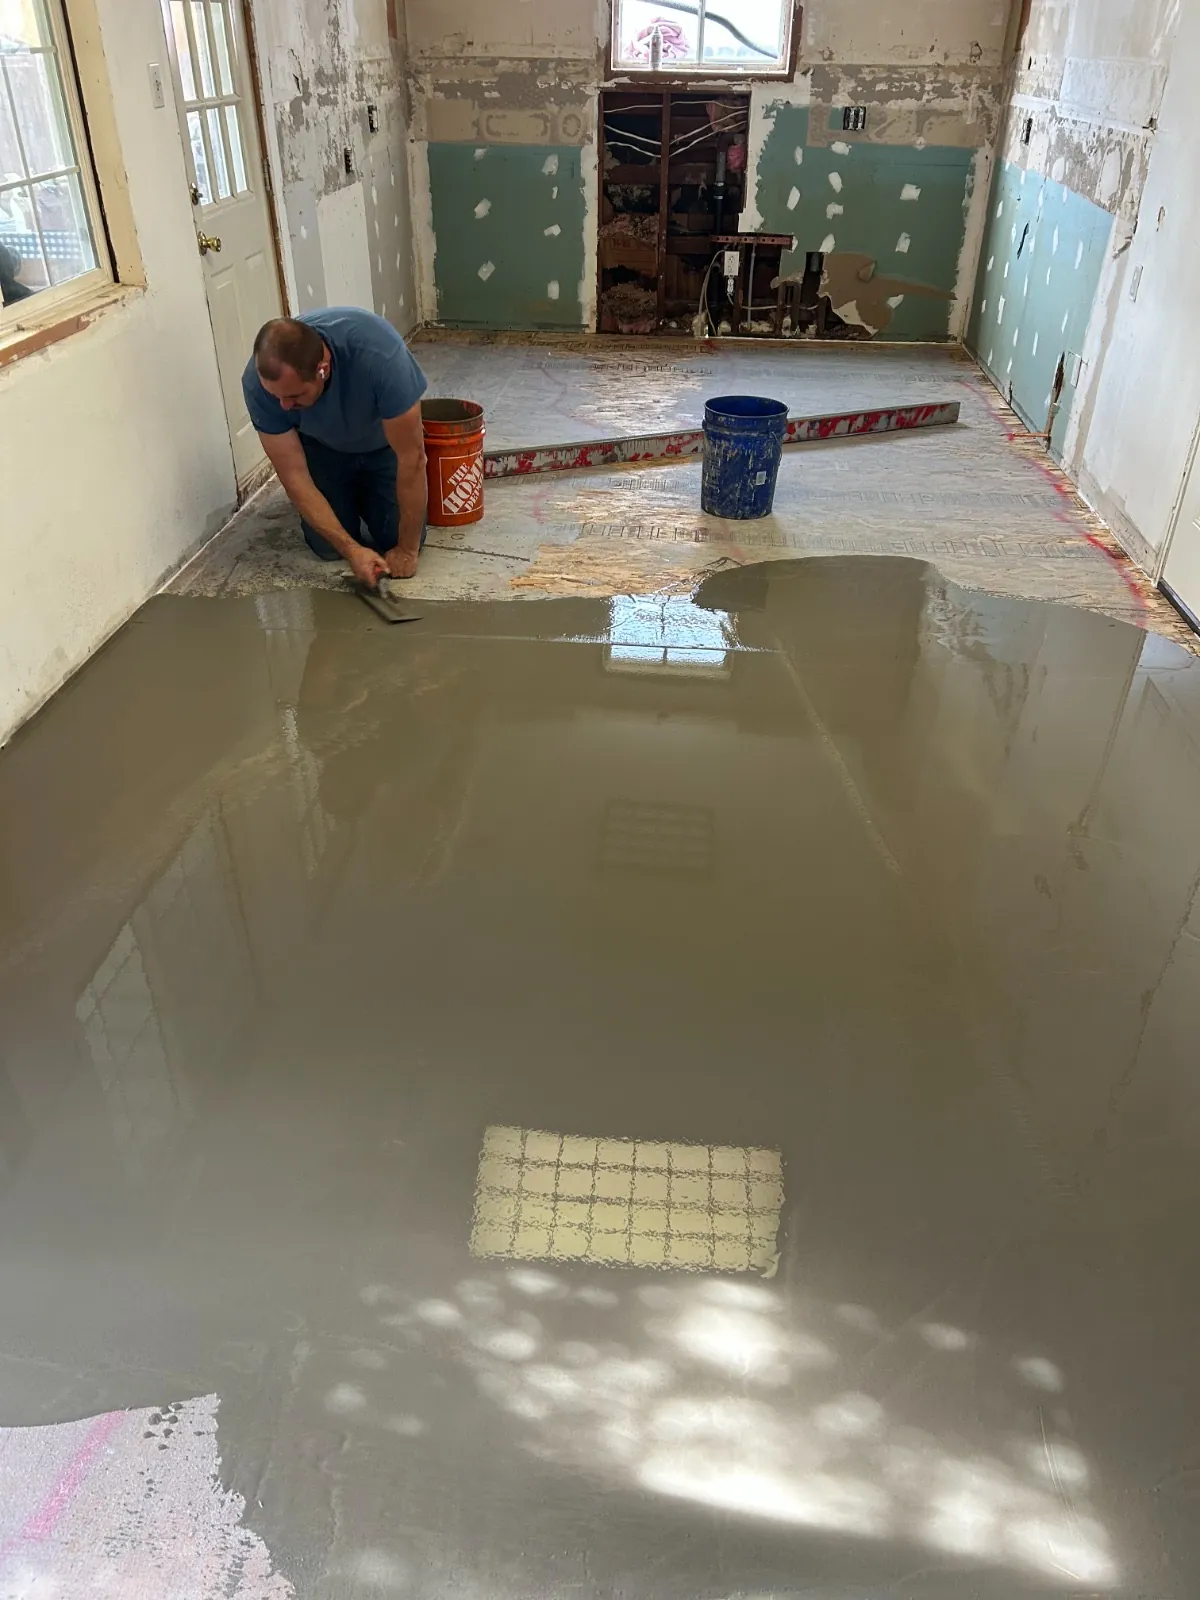
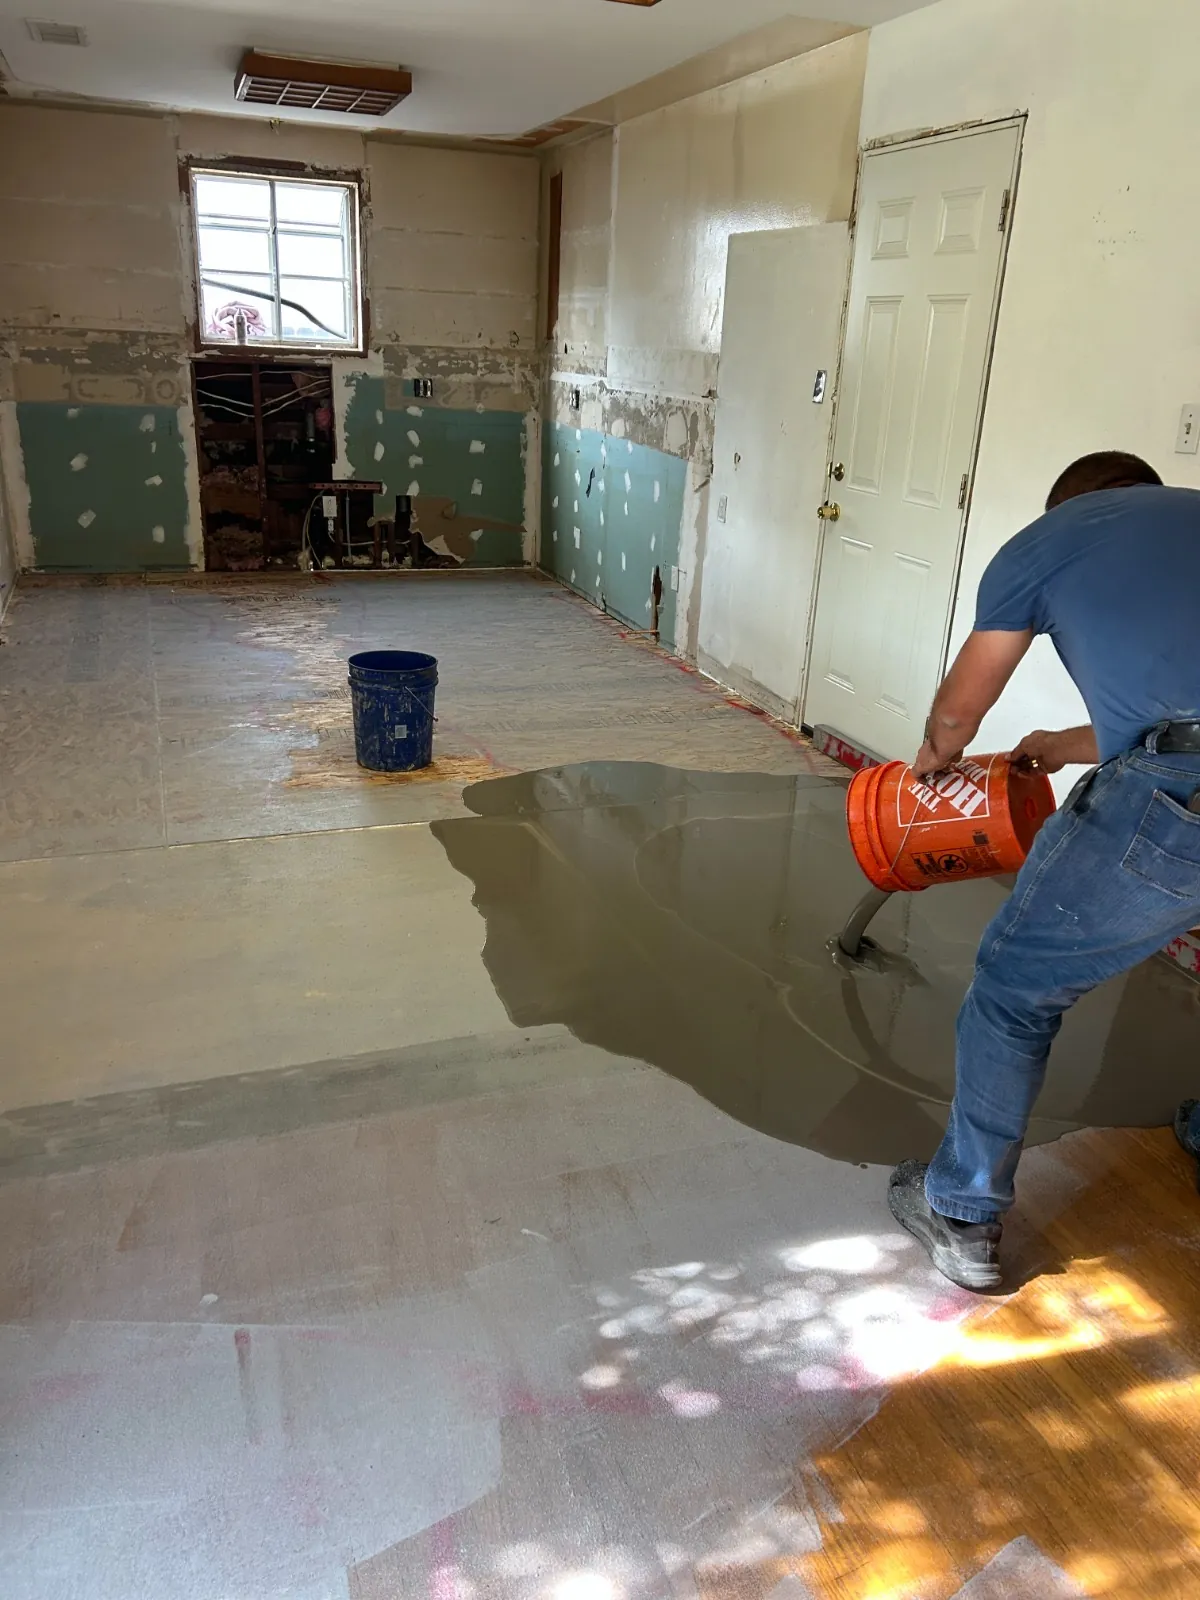
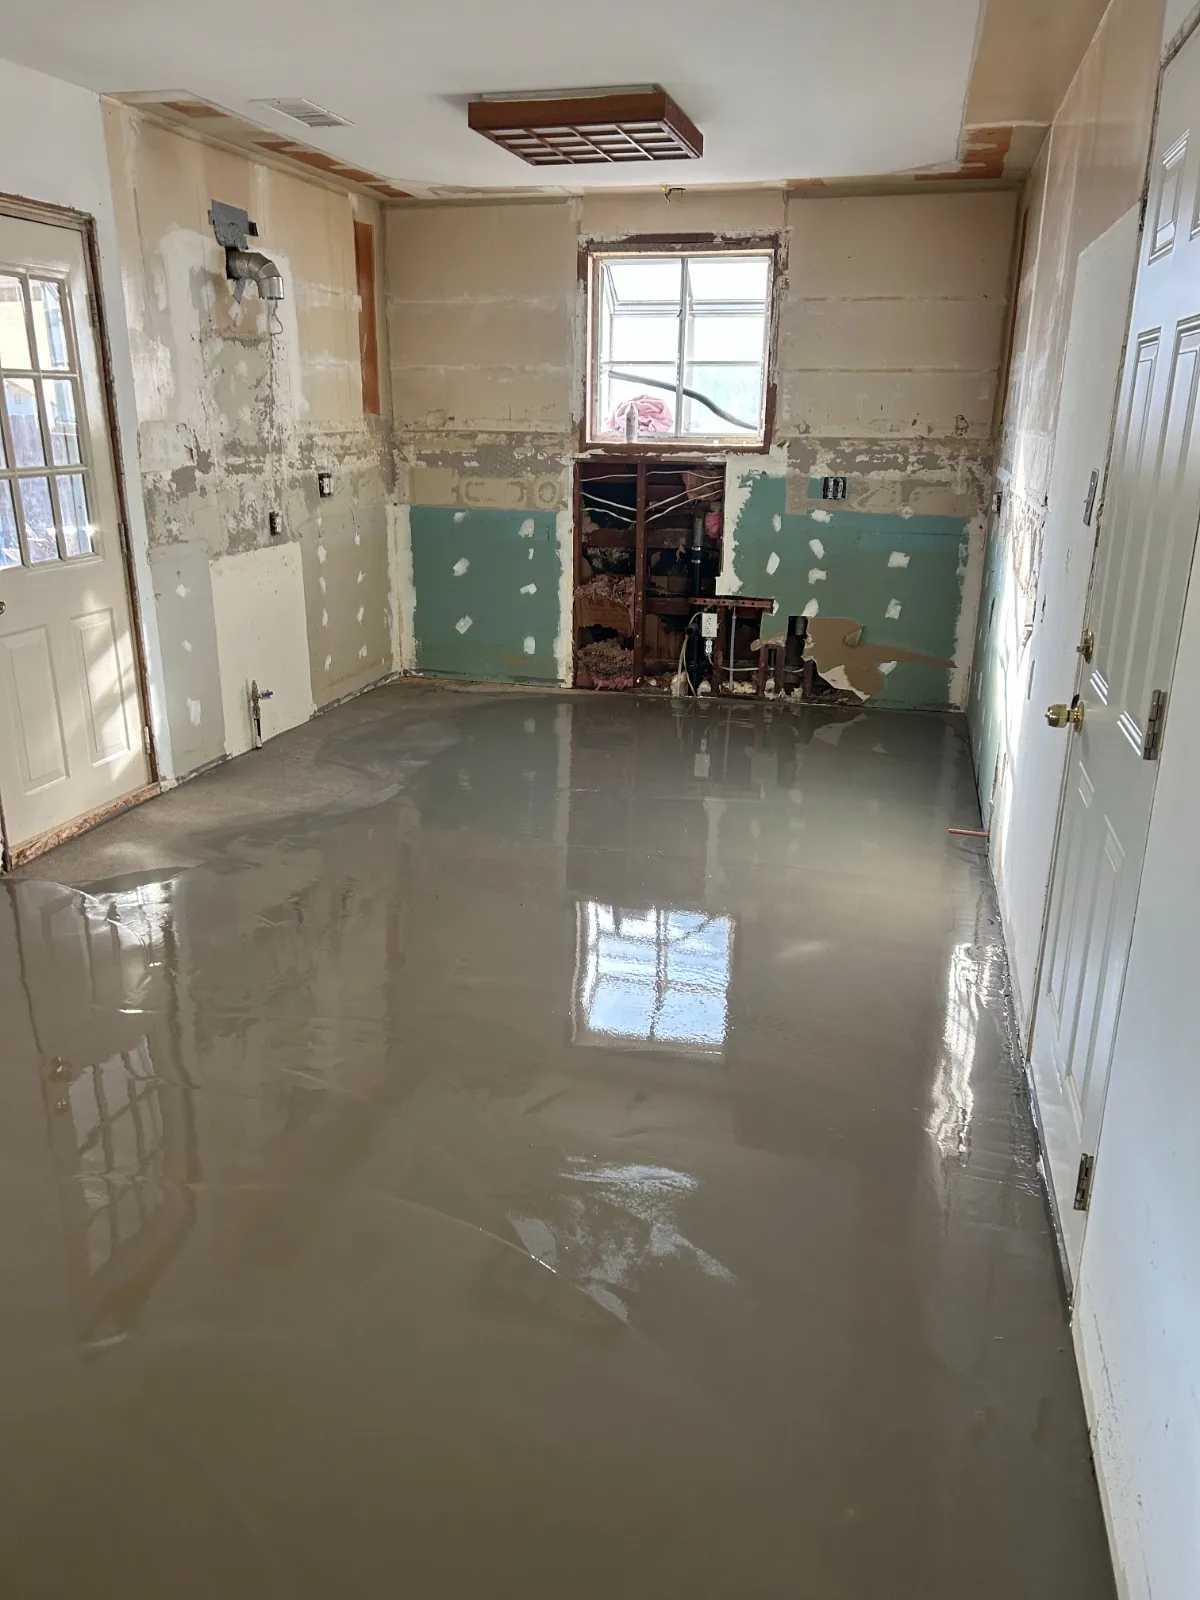
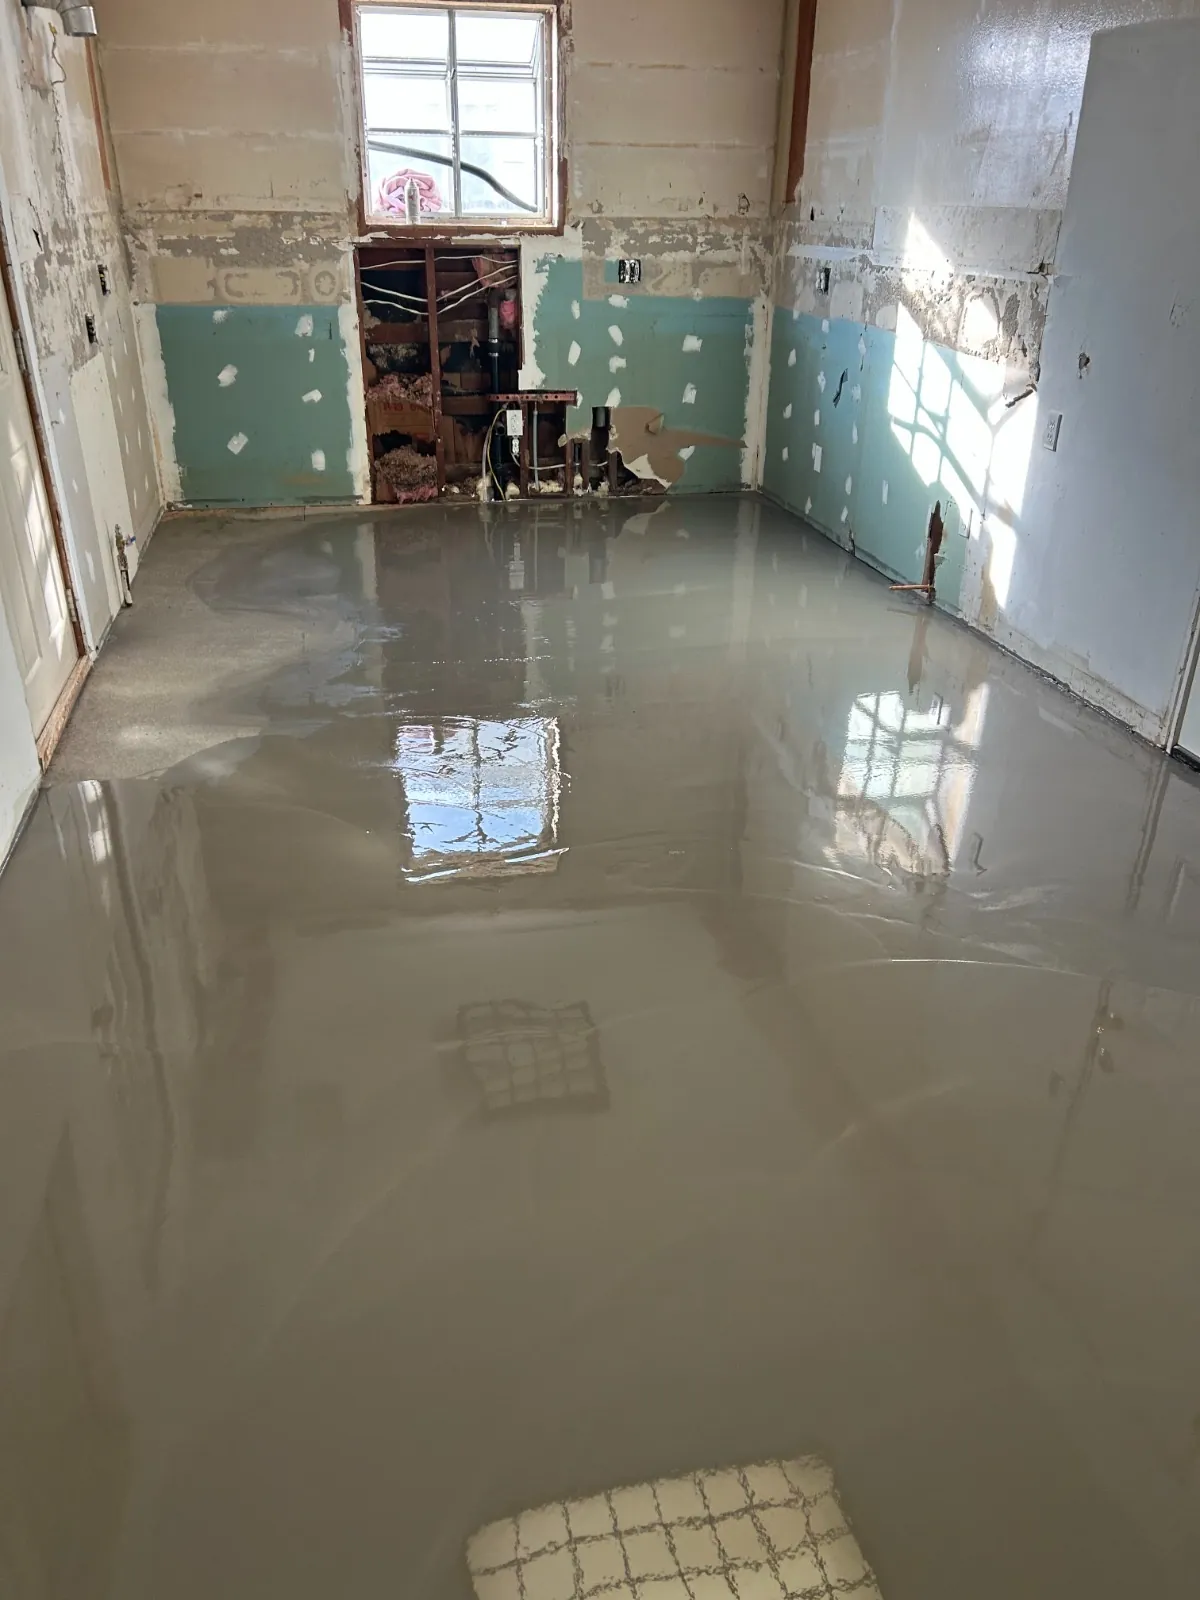
High spots get ground down. Low spots get filled with patch or self-leveling compound, applied over primer so it bonds and doesn’t crack later.
Priming and leveling, in practice
4. Underlayment
A thin layer between the subfloor and the finish floor. Depending on the product, it cushions the floor, quiets footsteps or blocks moisture from a slab. In condos it often has to meet the building’s sound rules. Some vinyl planks come with underlayment already attached.
5. The finish floor
The part you see: hardwood, engineered wood, vinyl plank, laminate, bamboo or cork. It gets nailed, glued or floated, depending on the product and what’s underneath. We explain the methods in How floors are installed.
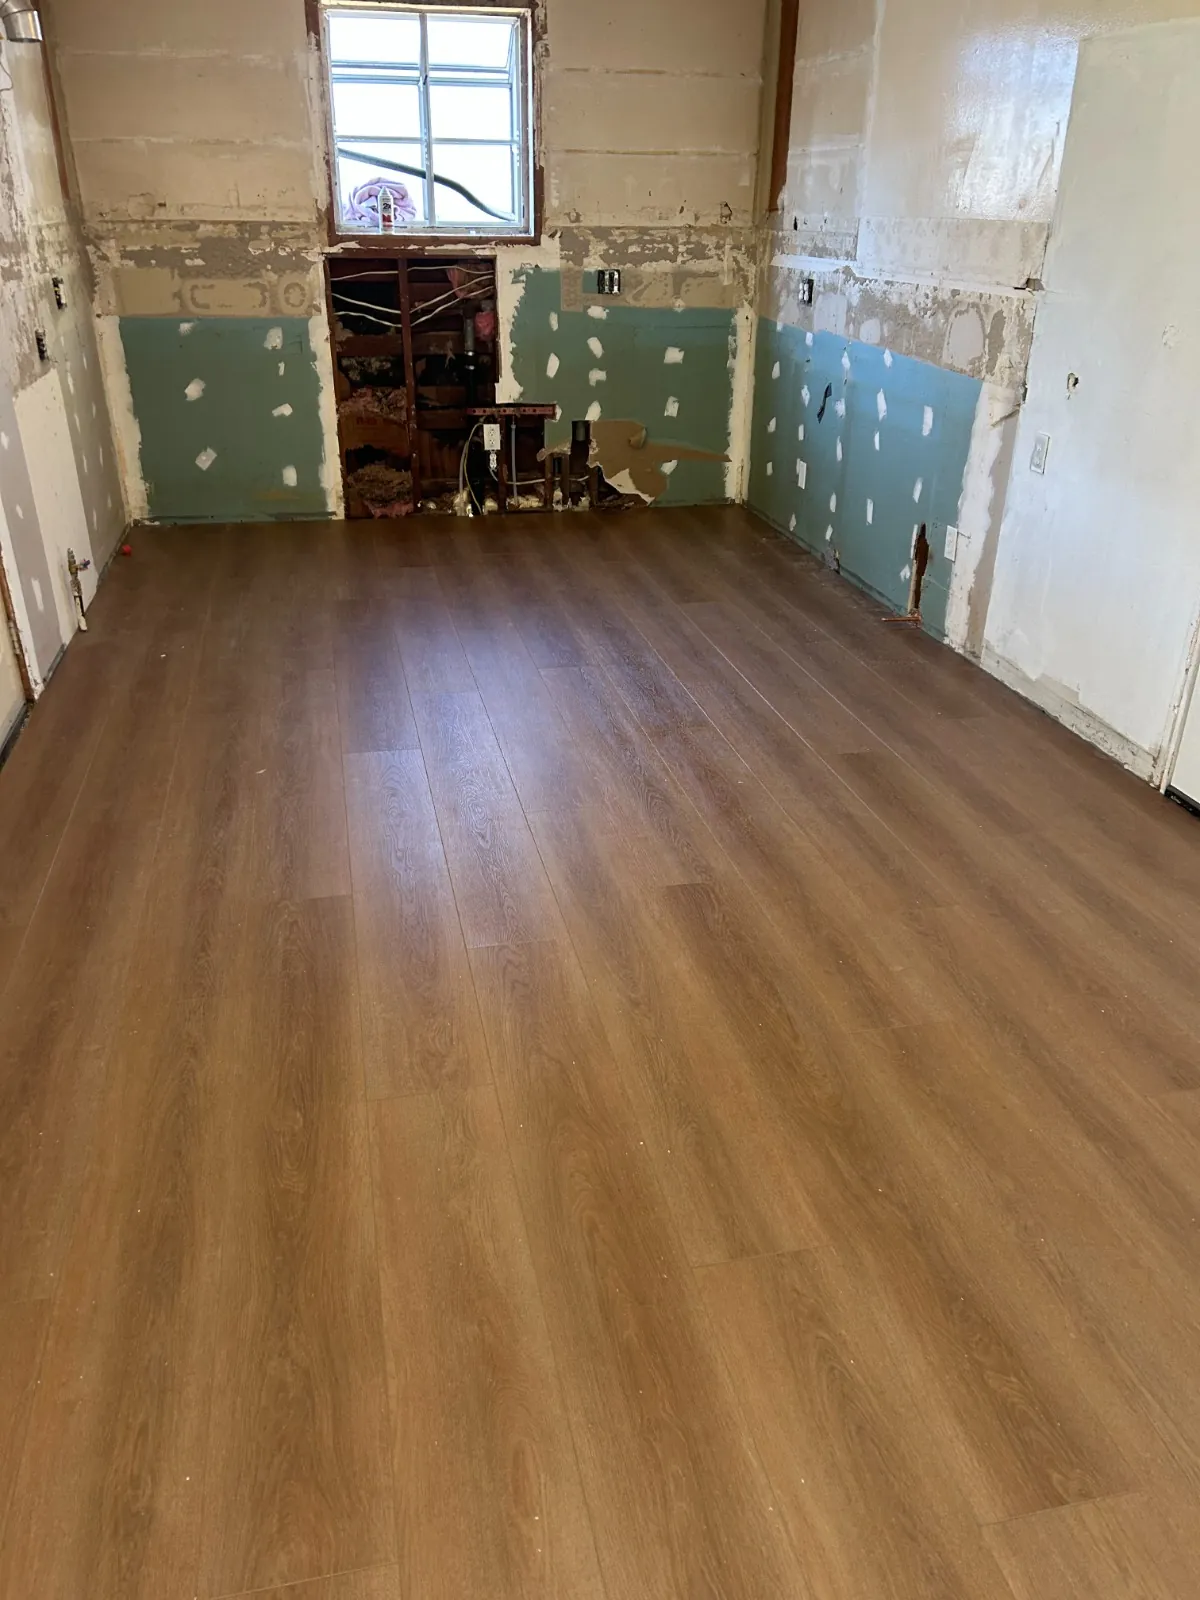
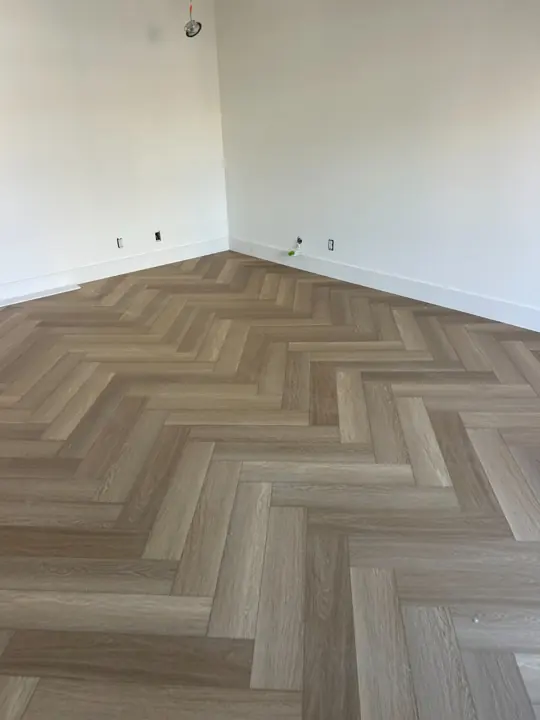
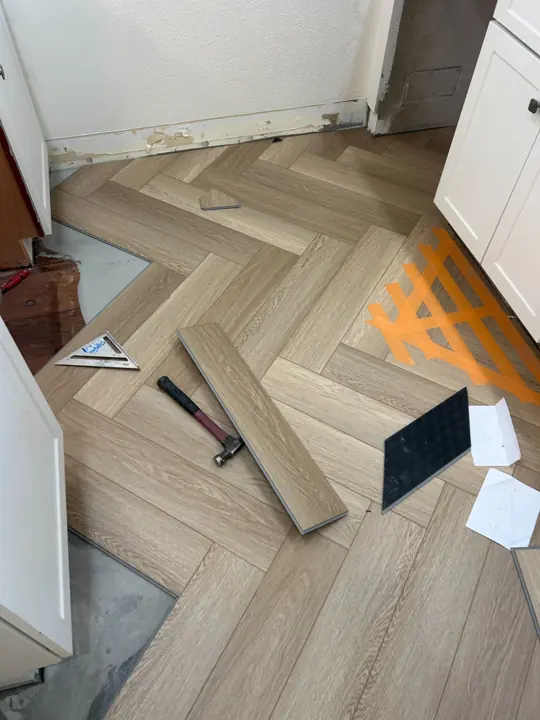
The preparation photos show one room as the work progressed, from the stripped base to the finished floor.
6. Trim and transitions
Baseboards and quarter round hide the expansion gap at the walls. Transitions join rooms with different floors. Stair nosings finish the edge of every step.
When a layer is skipped
- Squeaks usually mean a loose subfloor.
- Gaps and clicking joints usually mean an uneven base.
- Cupping or swelling usually means moisture from below.
- Noise complaints in a condo usually mean the wrong underlayment.