How floors are installed: floating, glue-down and nail-down
Most of the work happens before the first plank goes down. Here’s how a professional installation runs, step by step.
How we work: from first hello to final inspection
No need to have every answer yet. We’ll start with your room and what you want to change.
- You contact us
- We visit the property
- We measure the area
- You get a free estimate
- We discuss the project
- We recommend materials
- You get the final quote
- We schedule installation
- We install the floor
- Final inspection
Start with your room: ask for a free estimate.
Before installation
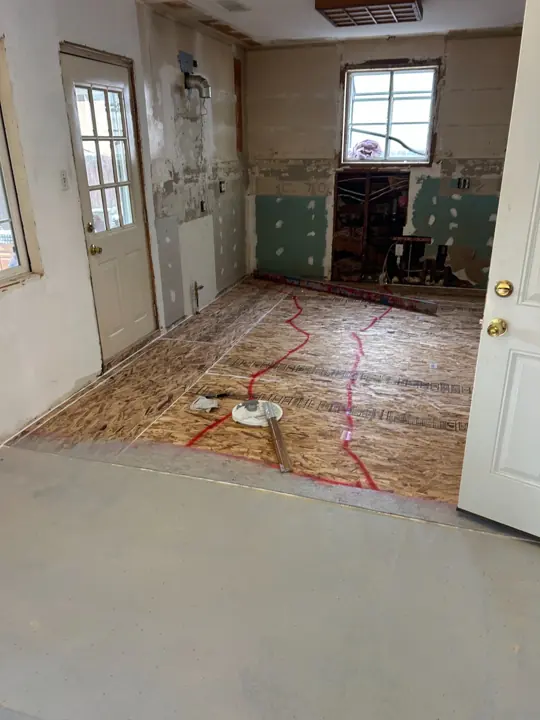
- Remove the old floor. If it might contain asbestos, it gets tested first.
- Inspect and repair the subfloor. Fasten loose spots, replace damaged sections.
- Check moisture. In wood subfloors and concrete slabs.
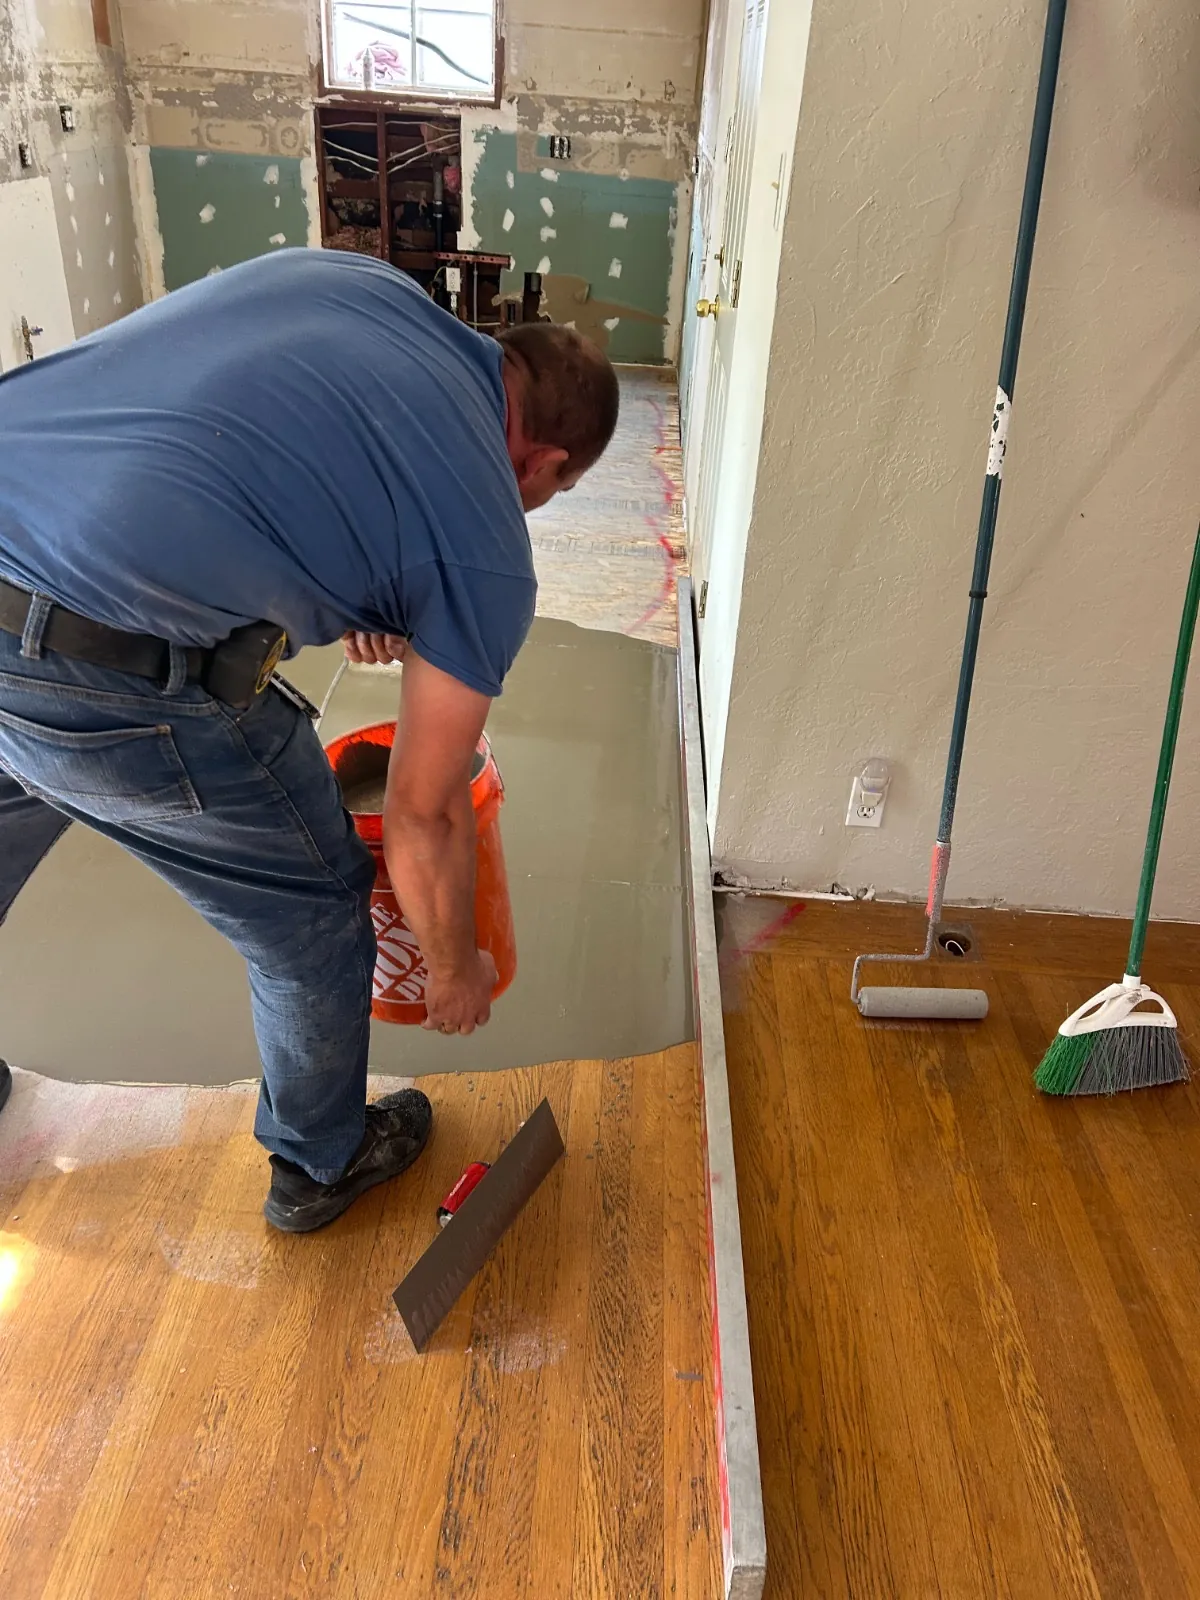
- Check flatness. Grind high spots, level low ones.
- Acclimate the flooring. Wood needs time in the room at normal living conditions. One manufacturer suggests 3 to 5 days for oak. Other species and products differ.
See the removal, subfloor repair, priming and leveling photos in How a floor is built.
The three methods
Nail-down
The classic method for solid hardwood and many engineered floors over a wood subfloor. Each board is nailed or stapled through the tongue, so fasteners stay hidden.
Glue-down
Common for engineered wood and some vinyl over concrete. It needs a flat, dry slab and the adhesive the manufacturer specifies.
Floating
Click-together planks, such as most LVP, laminate and some engineered floors, lock to each other over an underlayment instead of being fastened down. It’s fast and works over many surfaces. Over an uneven base, a floating floor can feel hollow and the joints can open.
Patterns and stairs
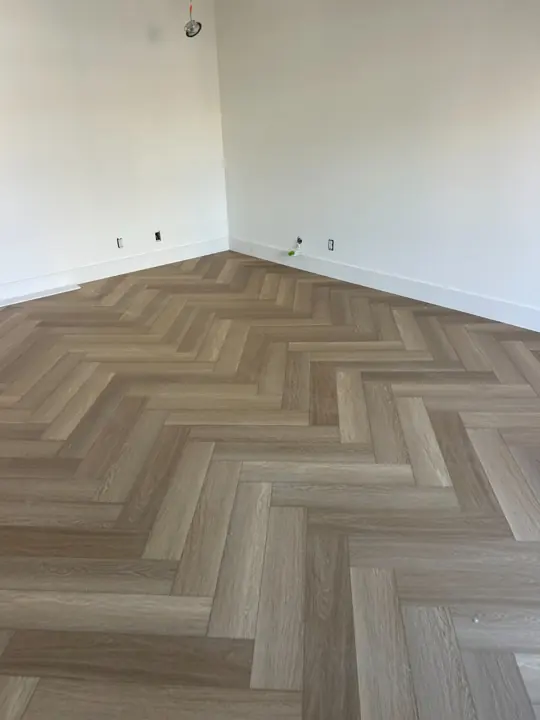
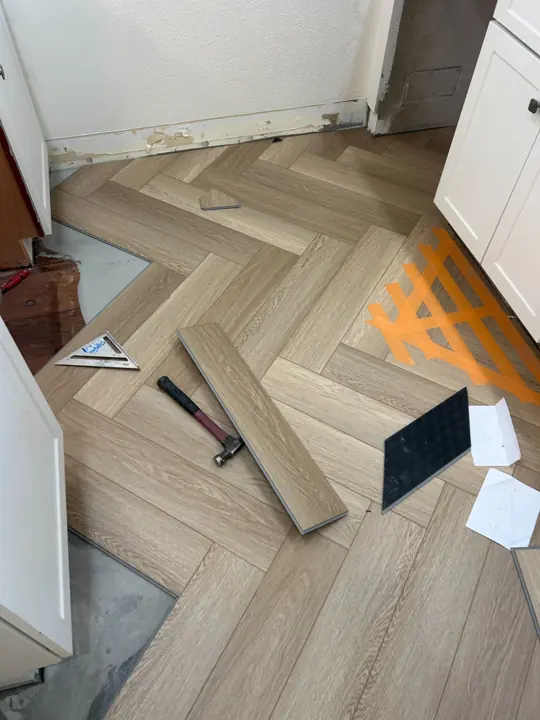
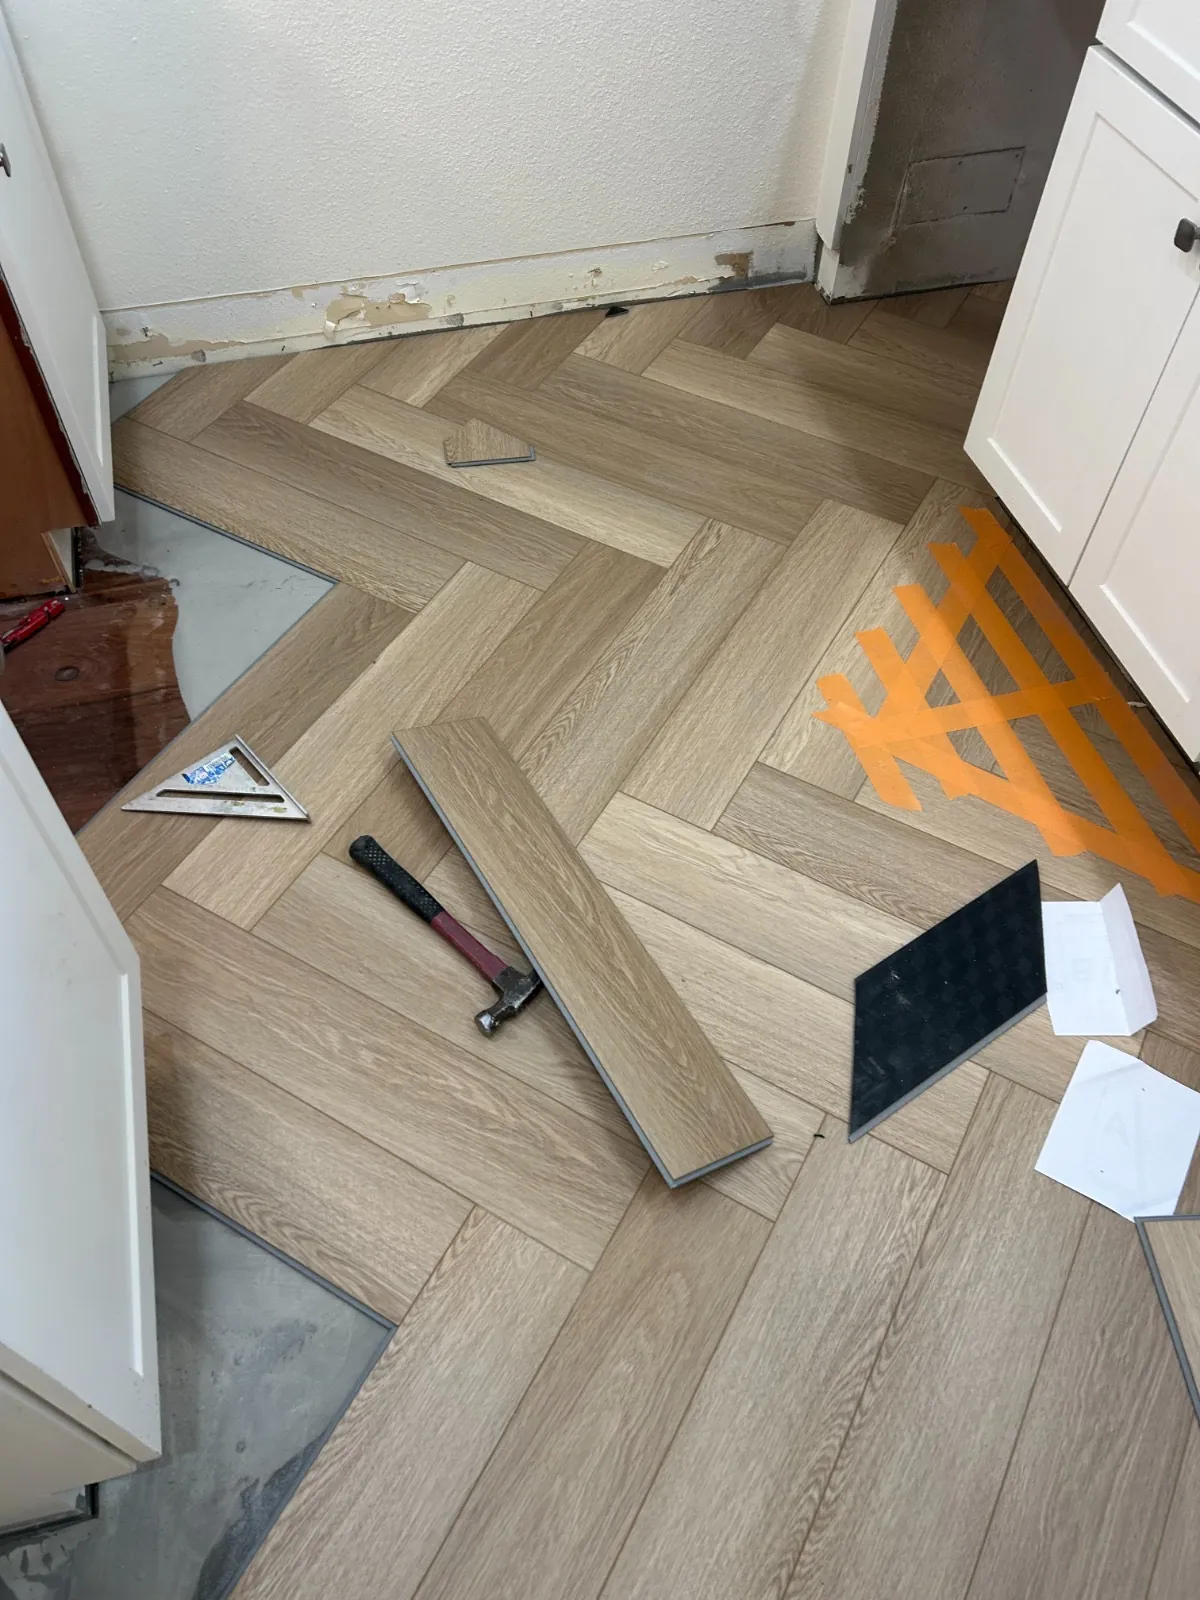
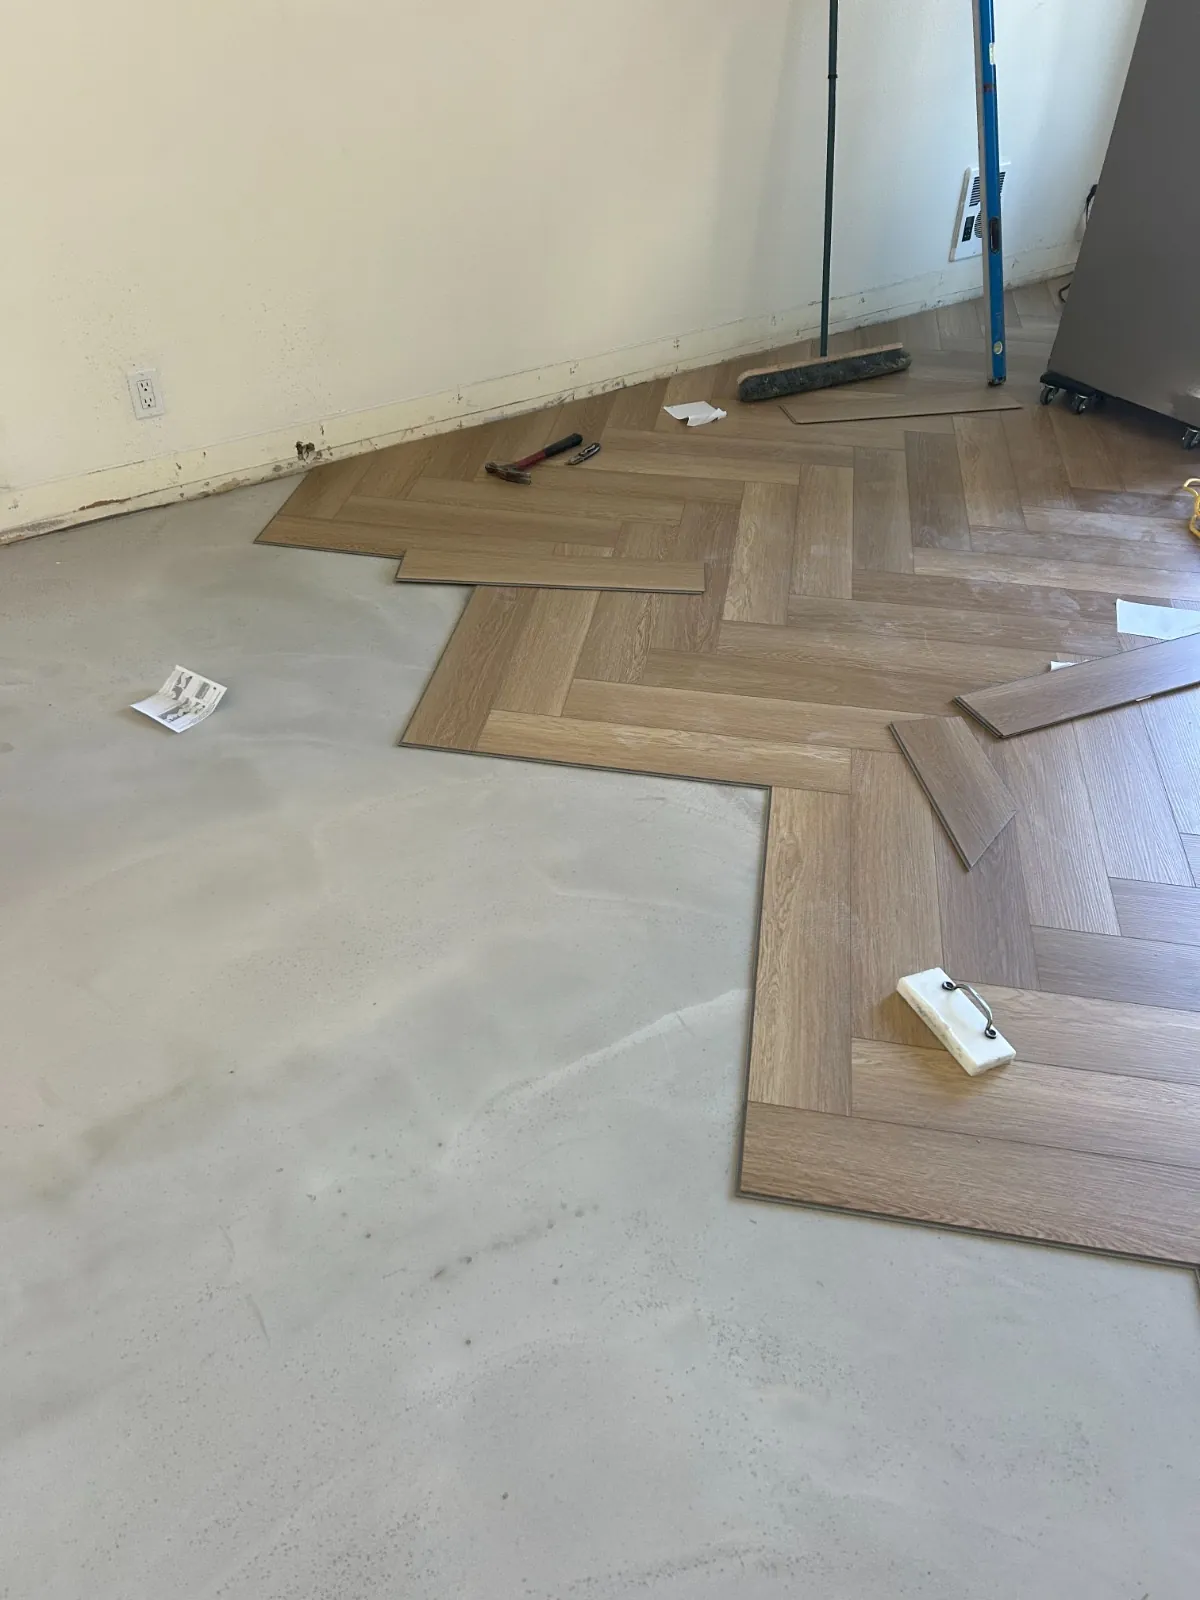
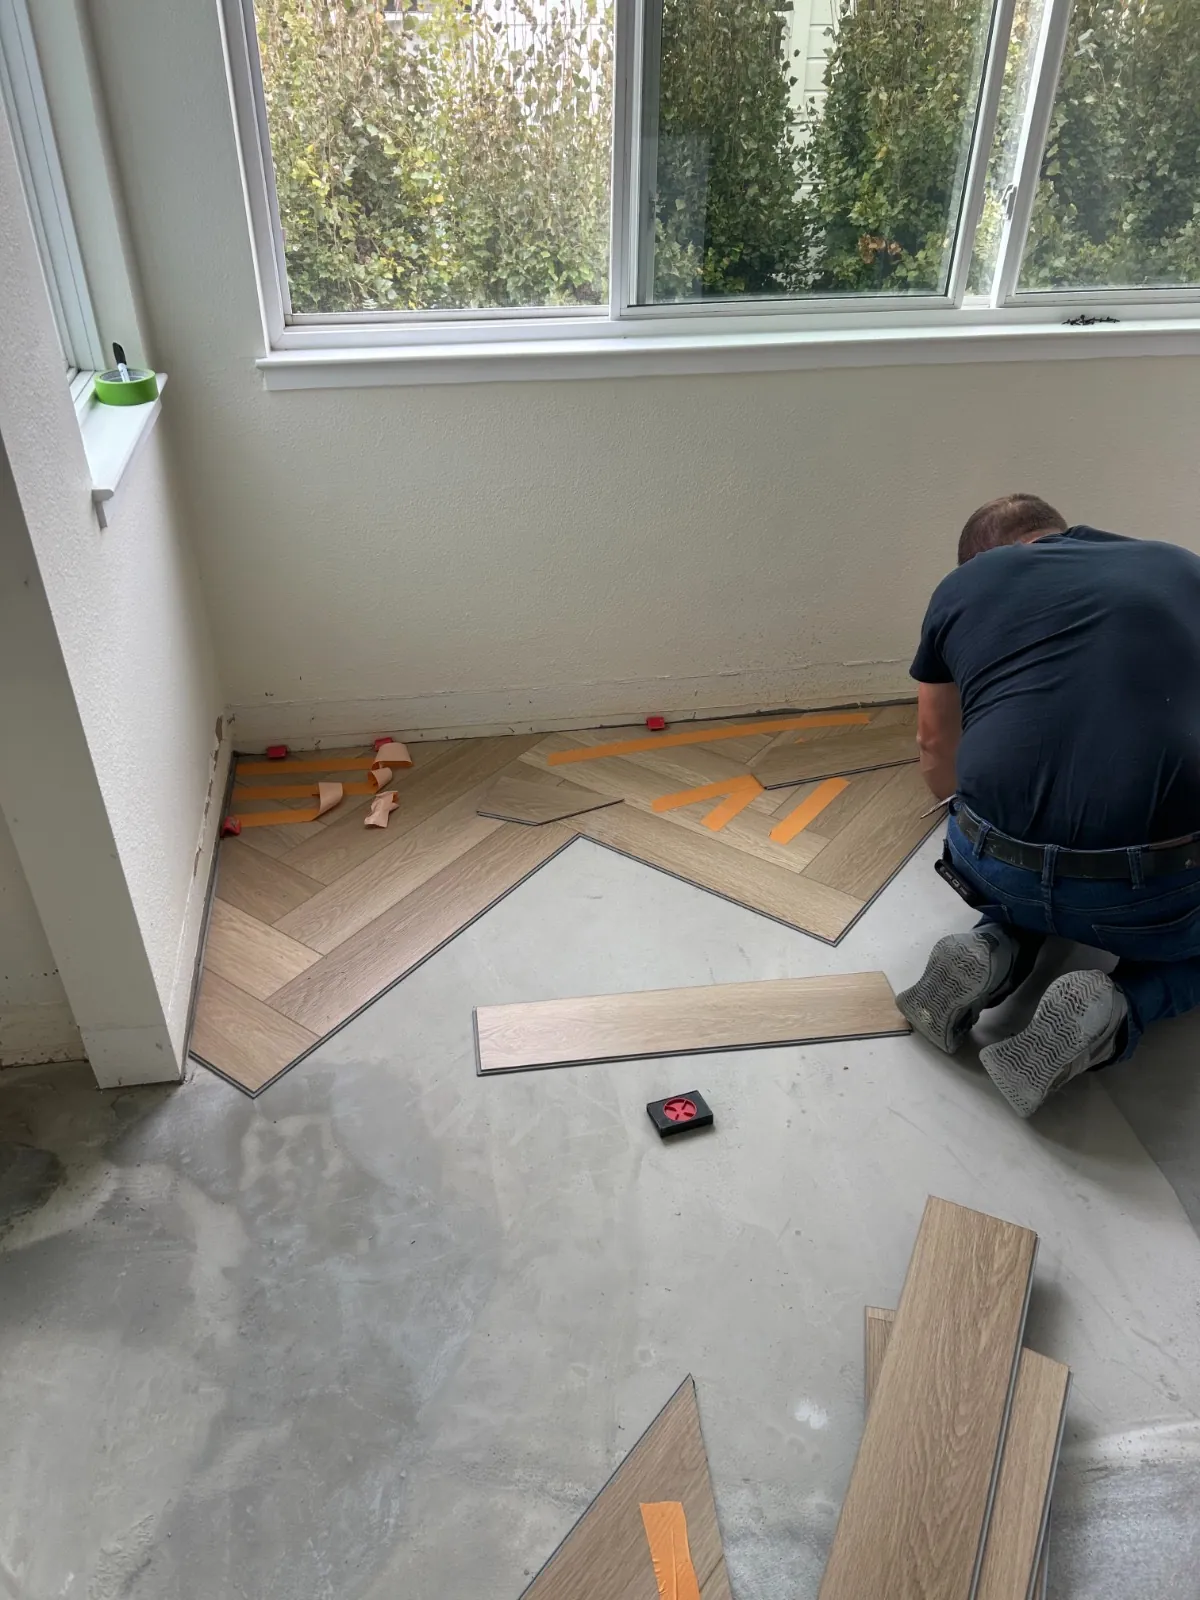
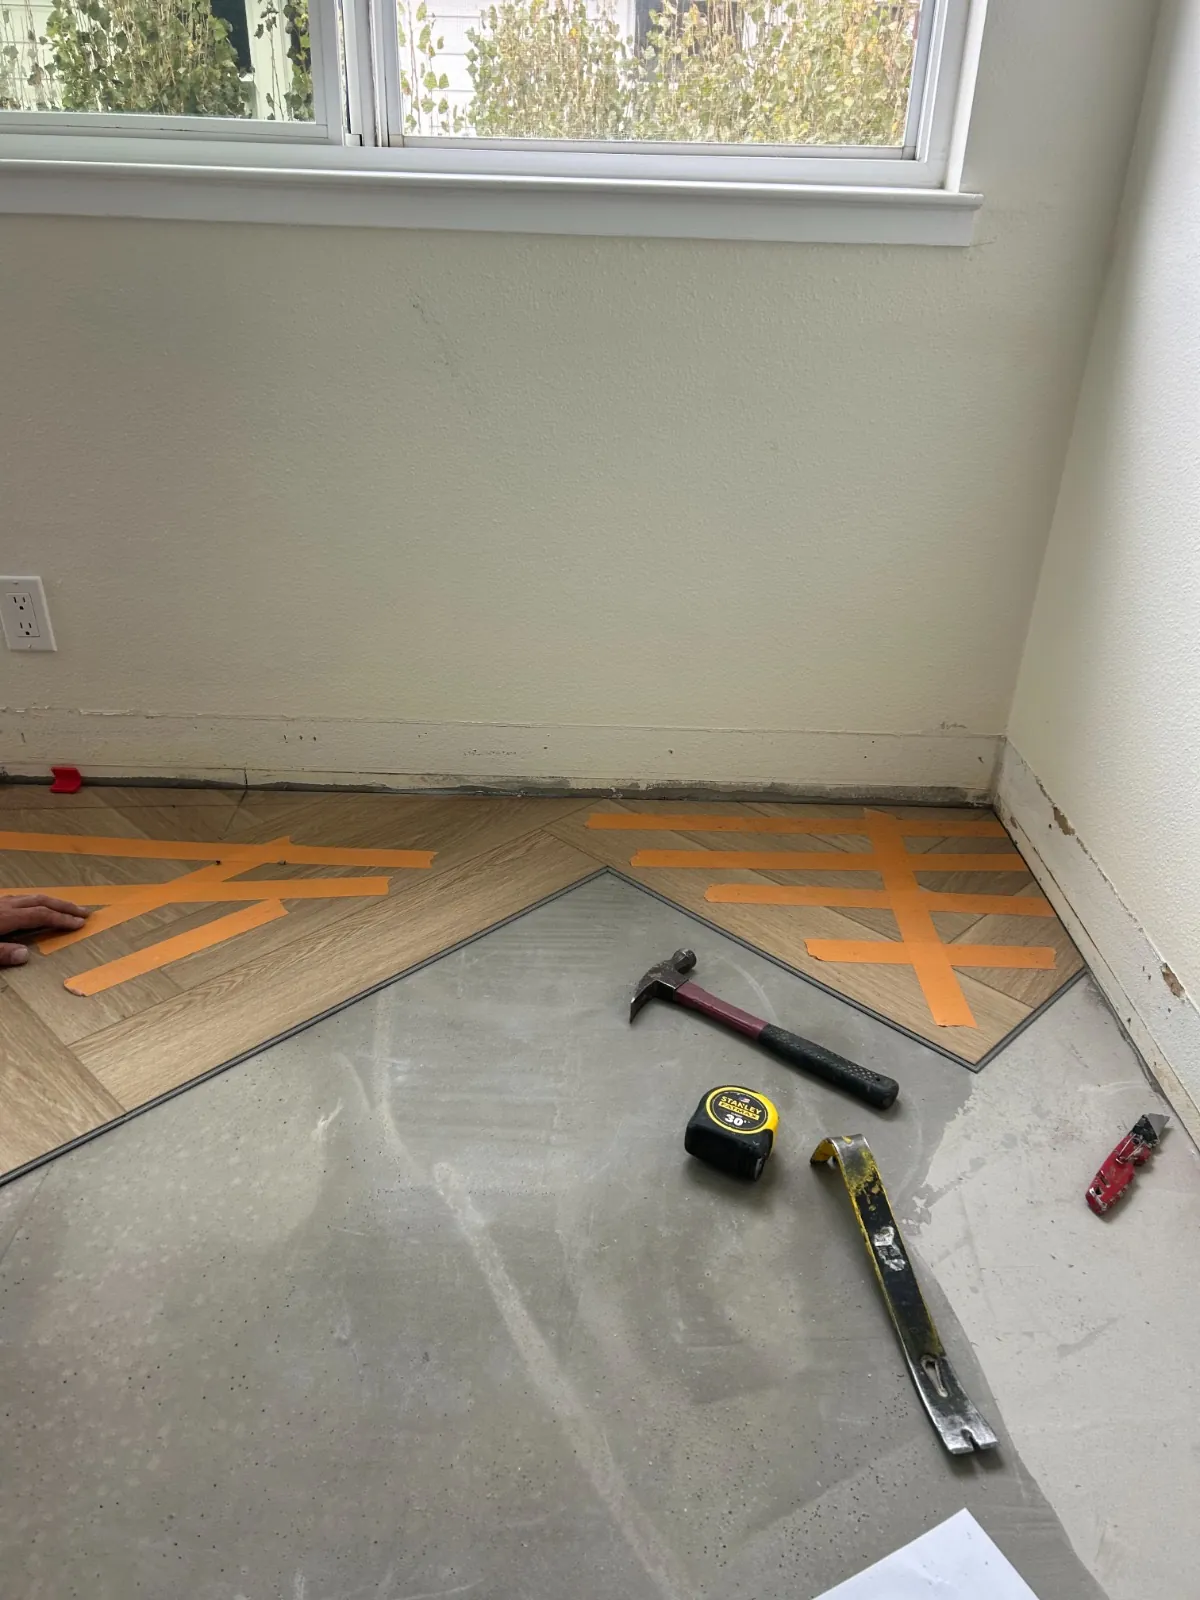
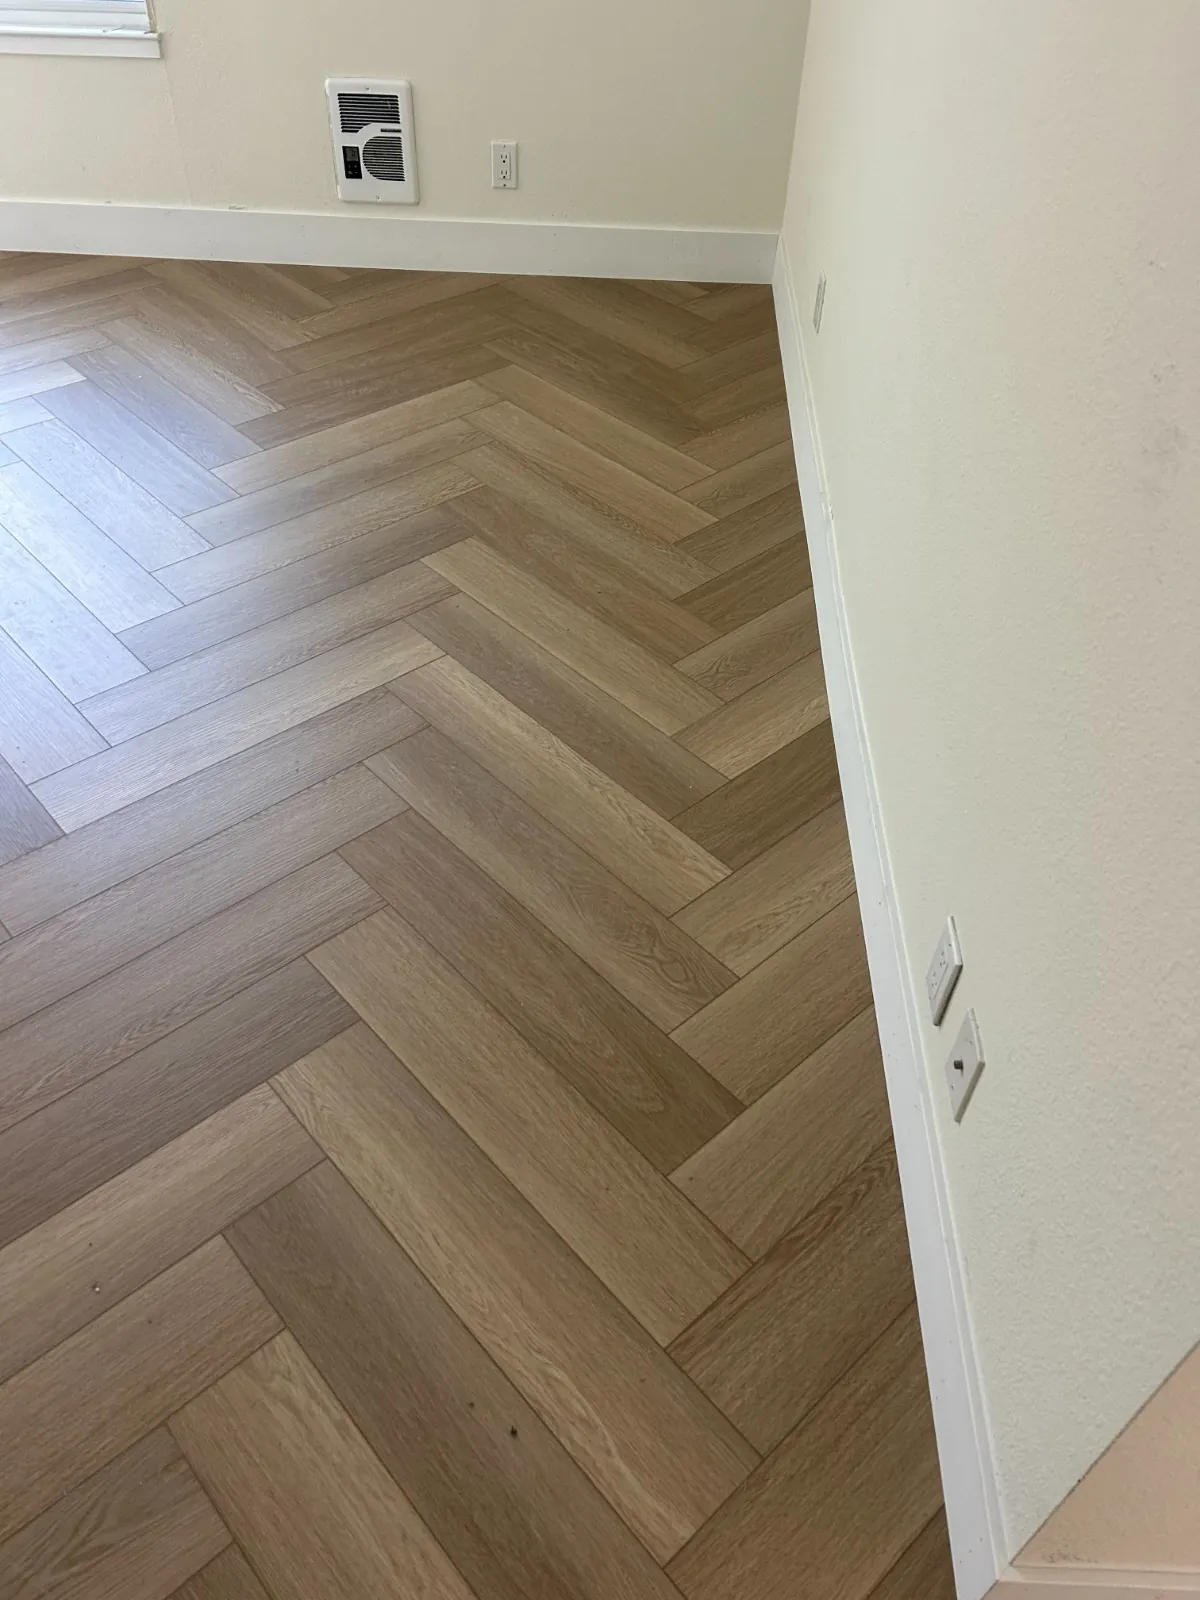
Herringbone starts with layout lines and a dead-straight first row. It needs a flatter base than straight planks. Some products ask for 1/8 inch over 6 feet.
Laying herringbone
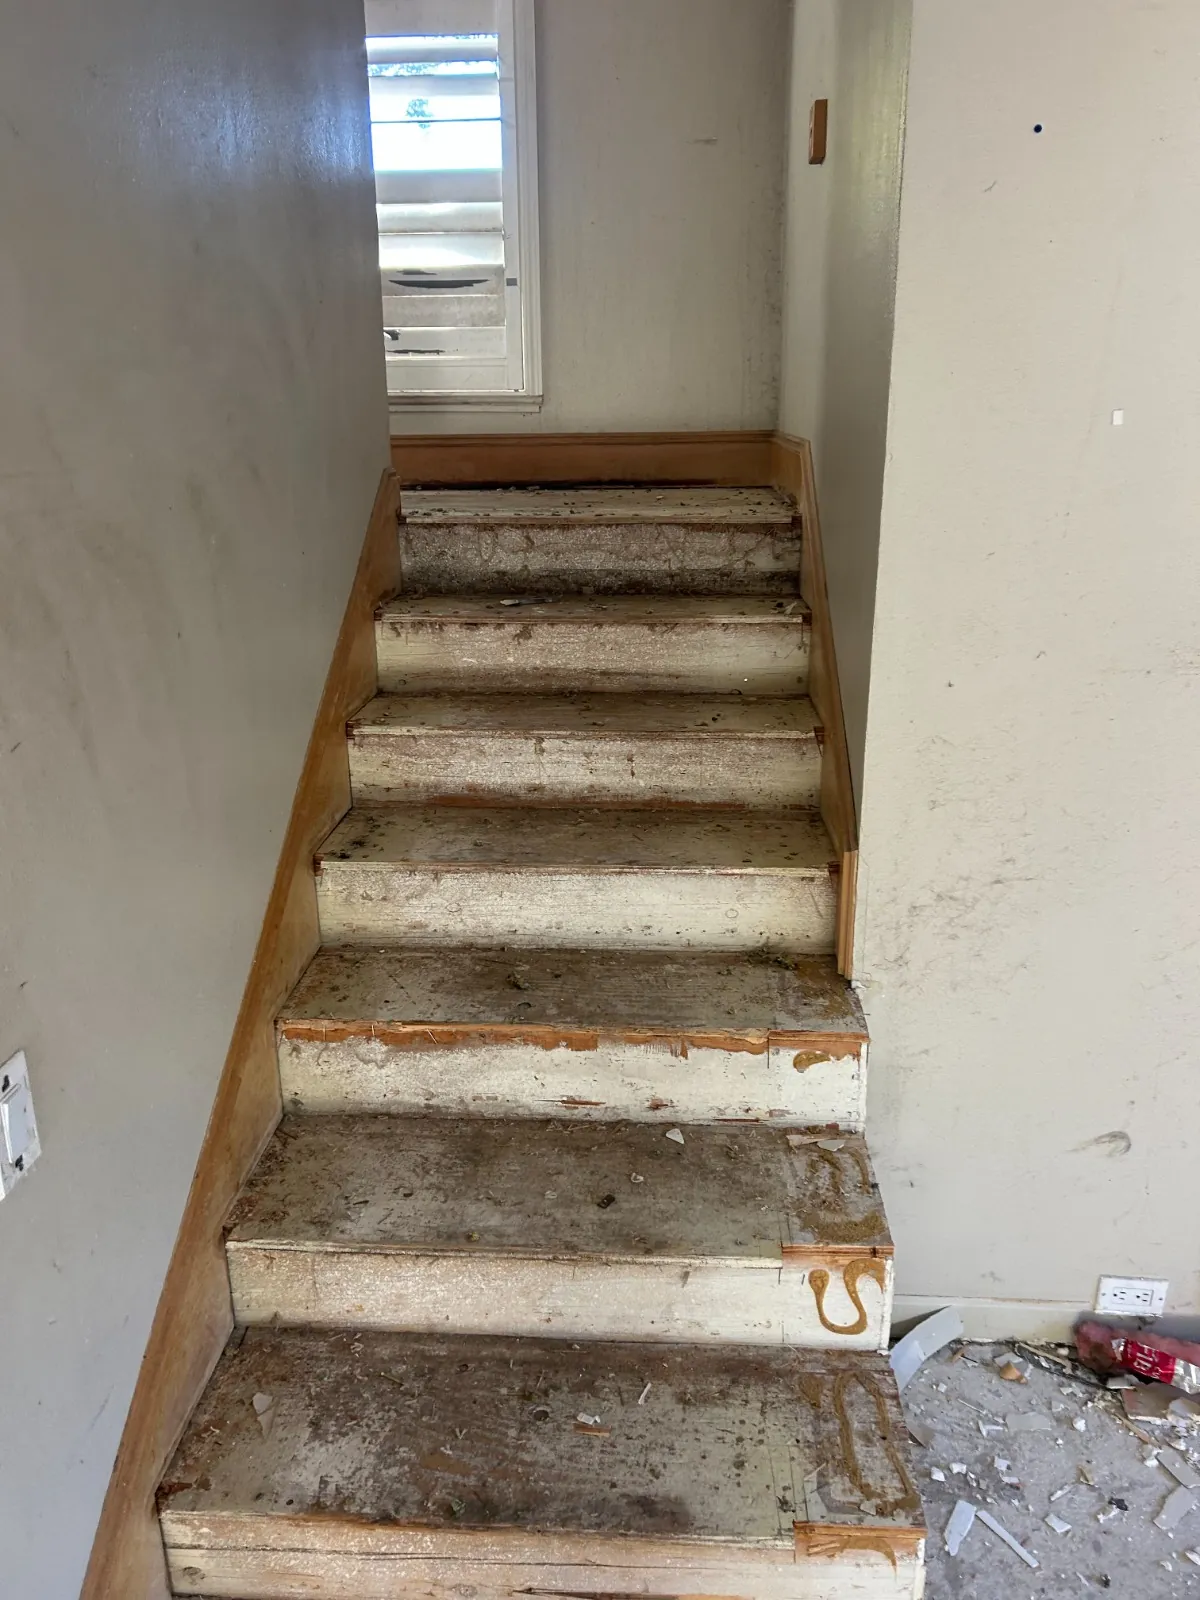
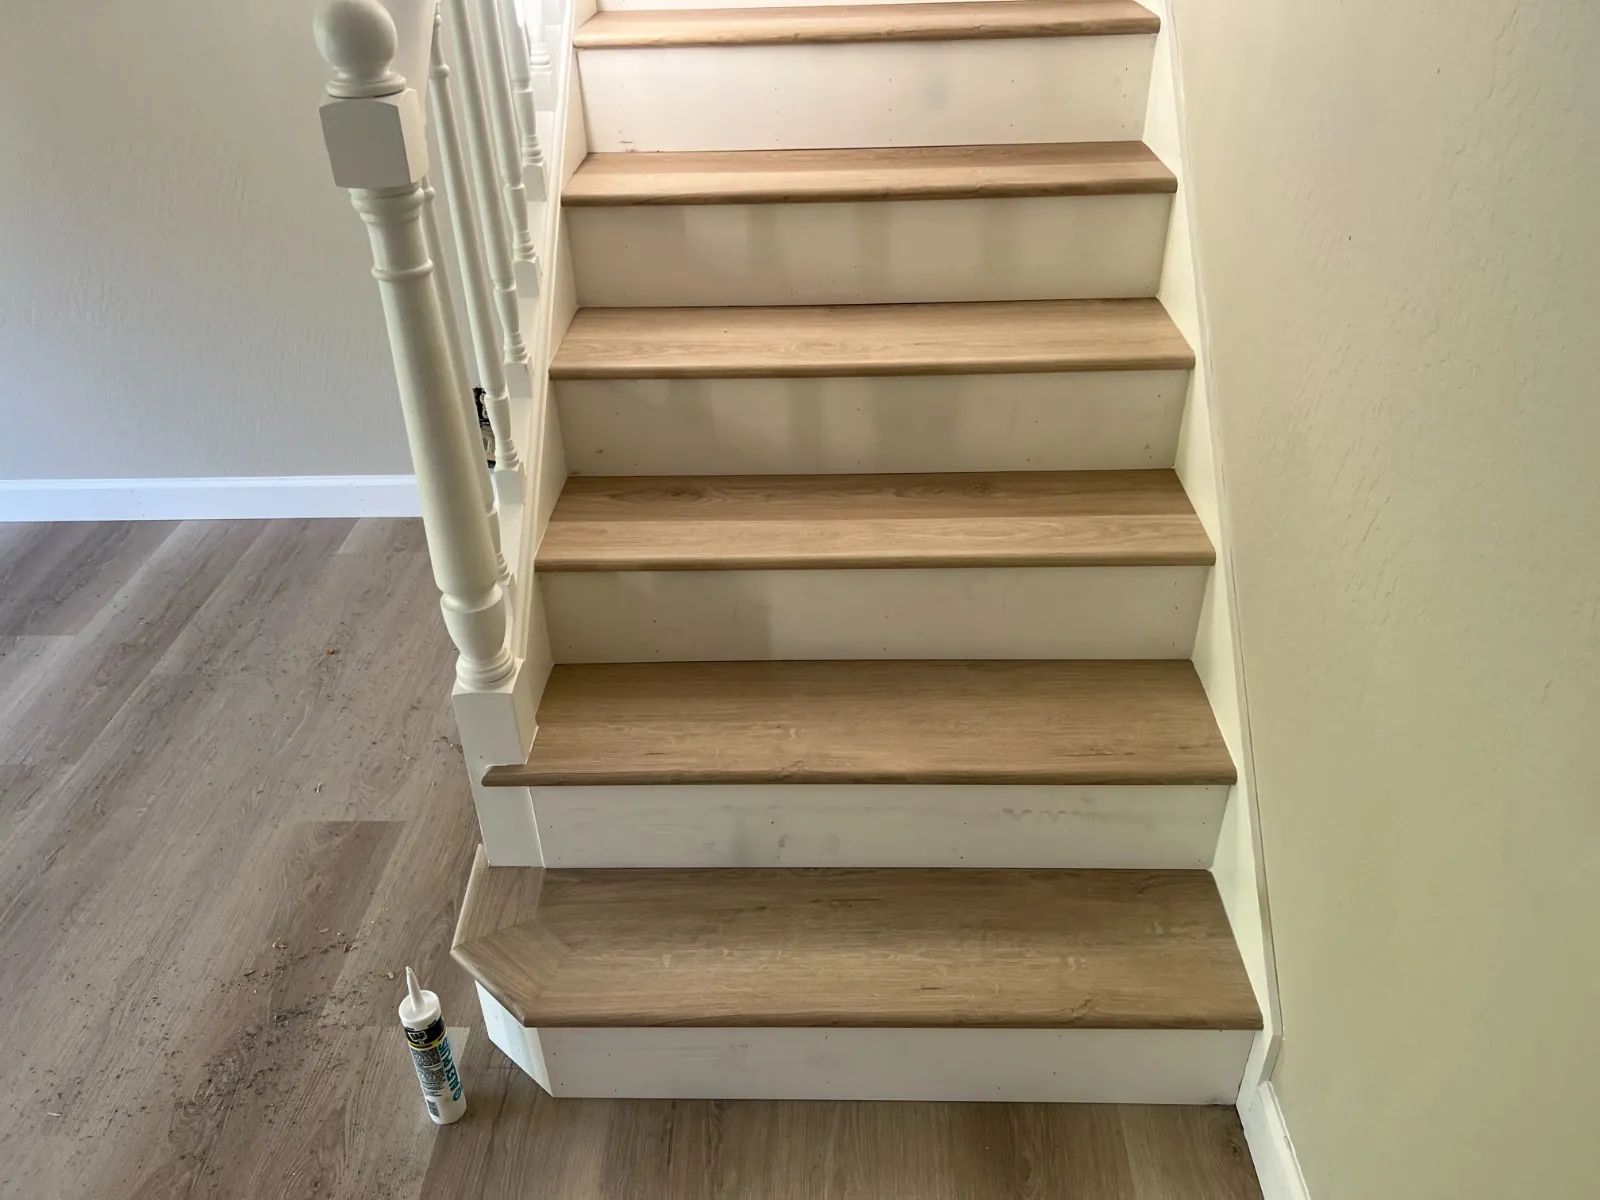
Preparing and finishing stairs
Stairs get matching treads, risers and nosings, so the floor looks continuous from room to staircase.
Finishing
Every floor needs an expansion gap at the walls. Baseboards or quarter round cover it. Transitions join rooms with different floors.
The manufacturer’s guide wins
Each product has its own installation instructions, and the warranty usually depends on following them. When a general rule and the guide disagree, we follow the guide.